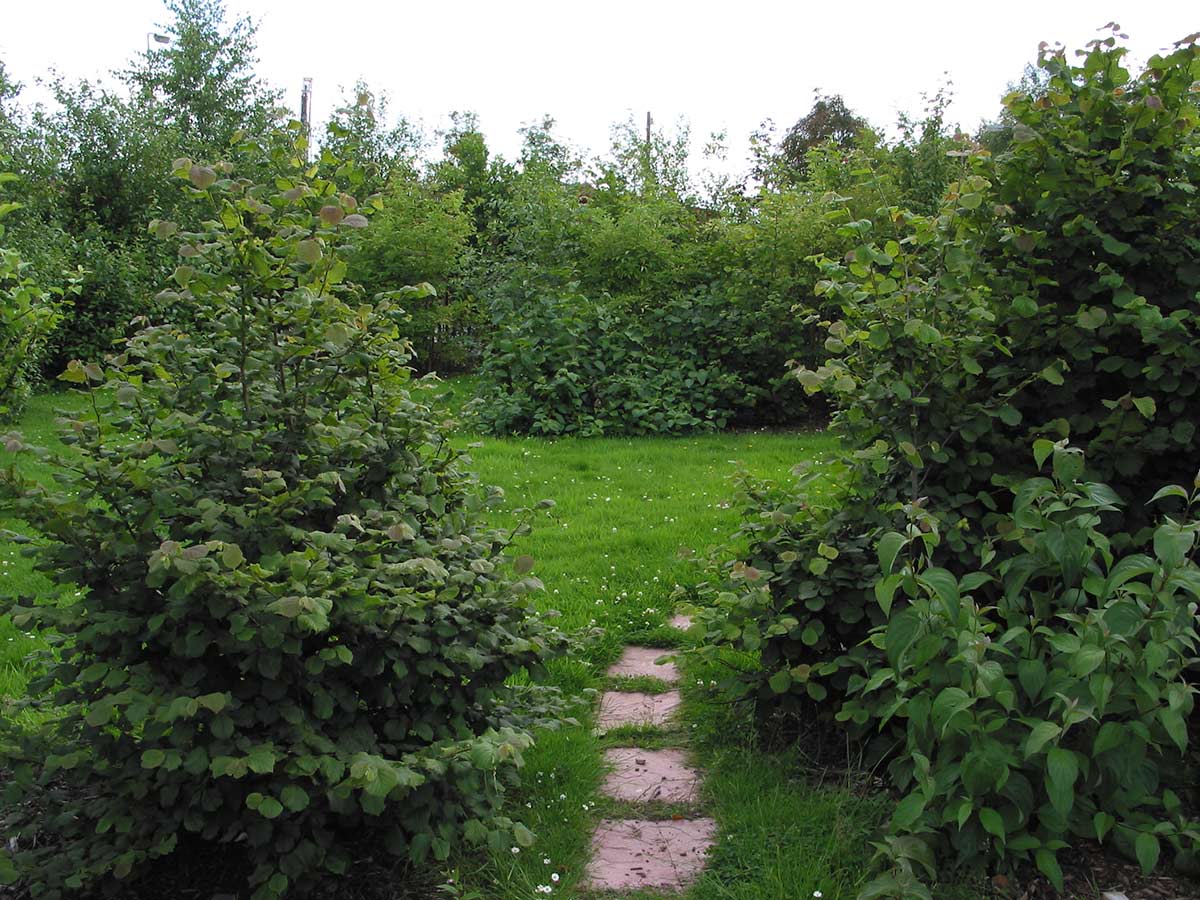
Coppicing involves the periodic cutting of trees using traditional felling techniques. It can be carried out for conservation reasons, to produce timber or in a garden setting.
This article is primarily looking at how to coppice hazel (Corylus avellana) for conservation purposes or timber. This might involve stacking the timber afterwards and leaving some brushwood to rot down.
Season
Coppicing in woodlands should take place between September and March, which lies outside the bird breeding season. It is illegal to disturb nesting birds or to damage a nest in use or under construction.
Hands-on techniques for coppicing hazel
Clearing the work area
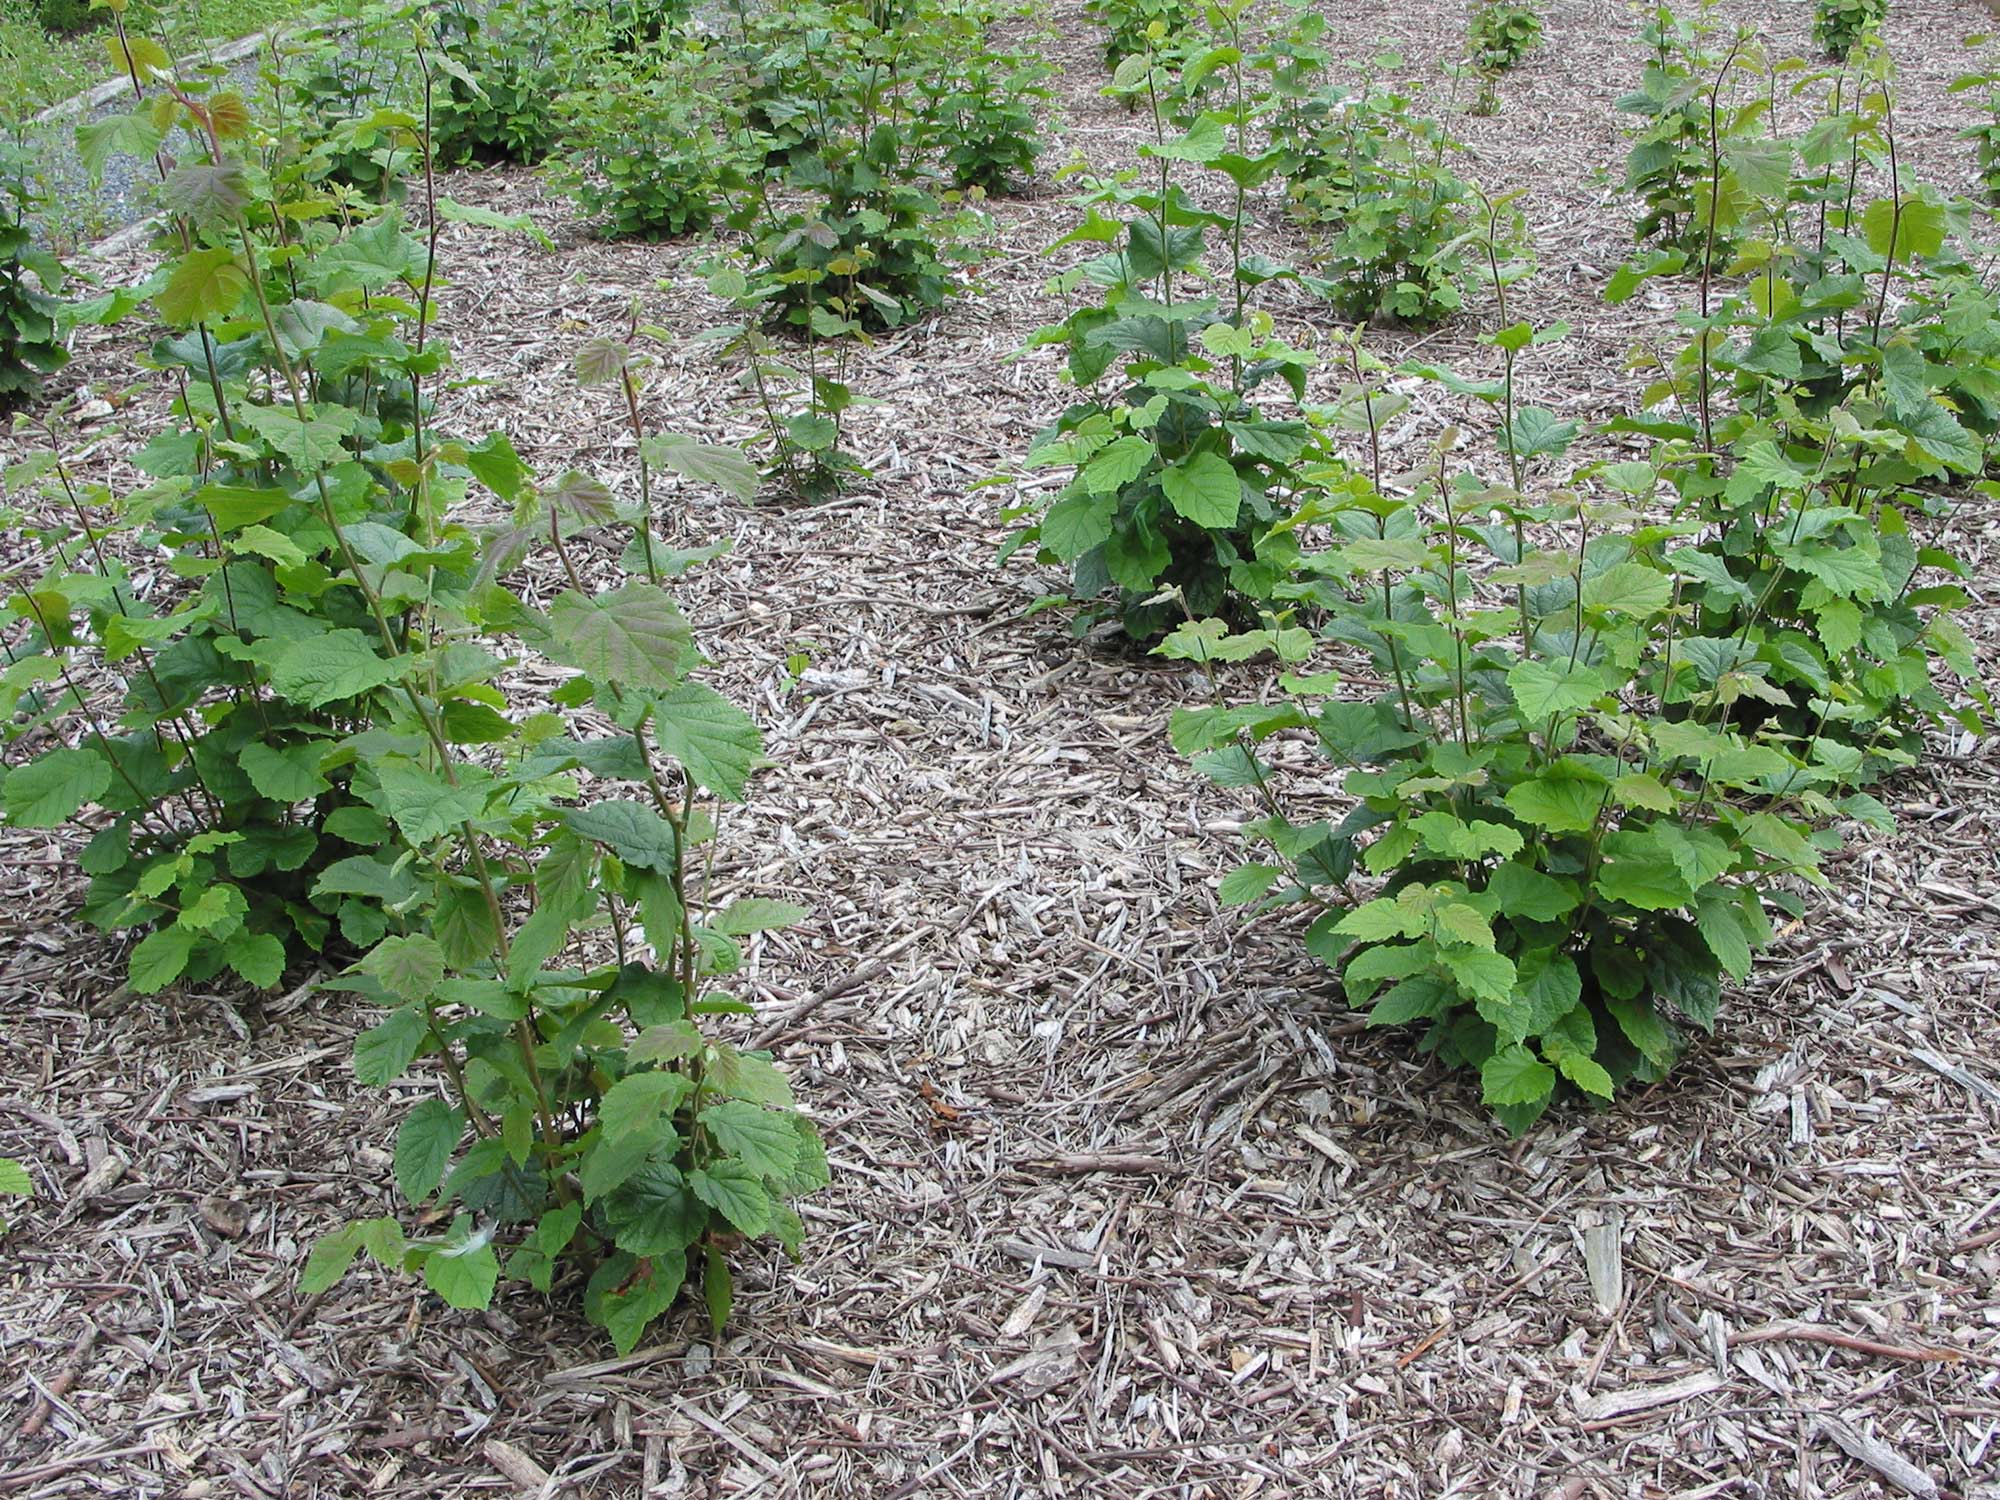
Clear any shrubs, herbaceous growth and dead timber that might hinder safe working. Watch out for stones, glass and tin cans that can ruin a saw. Leave the stumps and roots intact so that they will resprout.
Felling coppice regrowth
Look carefully at each tree to decide which way to fell the individual stems.
Bear in mind:
- Lean and likely direction of fall.
- Ease of cutting at the base.
- Intertwining tops.
- Space to drop the stems.
- Size of stem.
- Wind strength and direction.
- Escape routes.
- Time spent on this will save problems and avoid accidents.
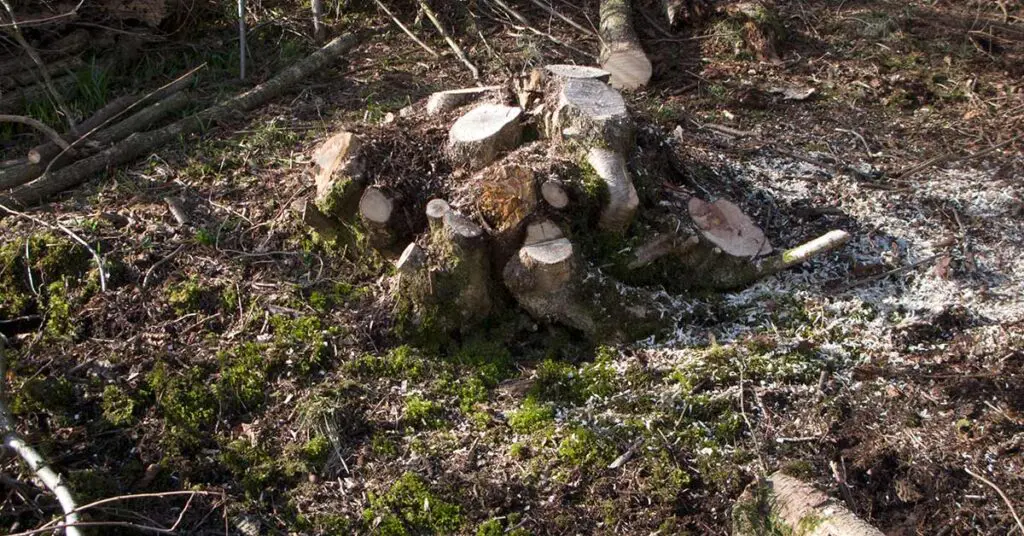
Remove any young growth around the outside of the stool. Cut as close to the ground as possible.
Make certain that other people are at least twice the distance of the height of the stems you are about fell. Post a lookout and stop felling if people approach.
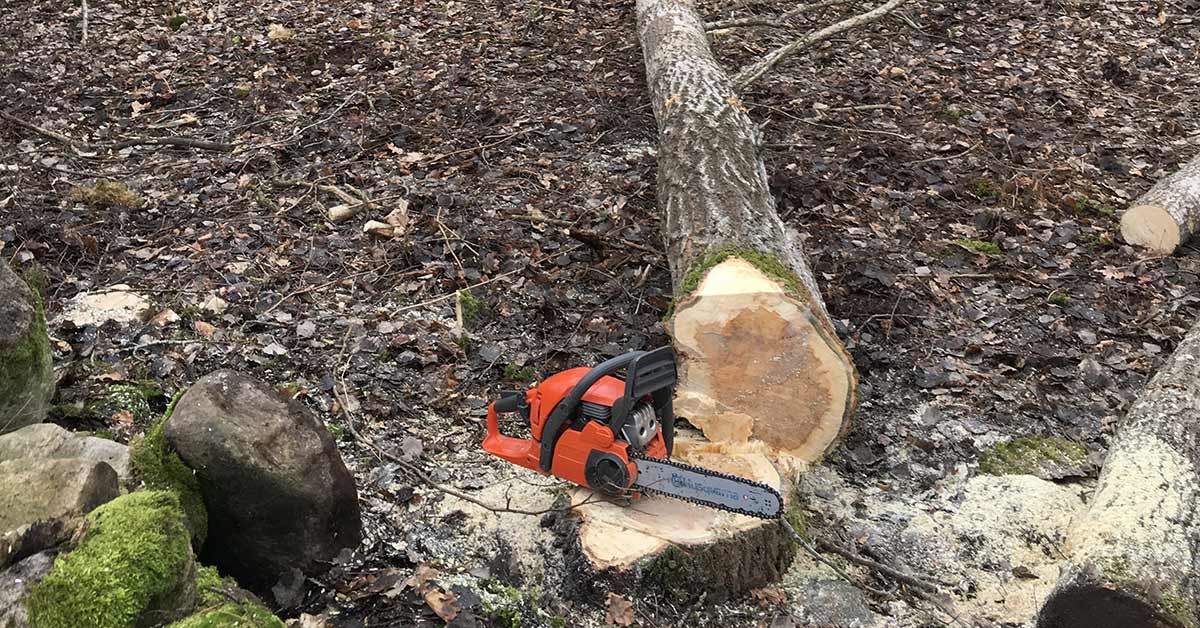
Stems up to 8cm diameter can be cut straight through. Support the weight of the stem with one hand whilst sawing with the other.
Stems up to 15cm diameter should be undercut on the front (side facing the direction of fall) before being cut through from behind.
On larger stems, cut a felling sink in the front. See more detail about how to fell trees.
Cut an angle of 30-45 degrees from the horizontal, or trim the stump to this afterwards. It is important that the bark is left intact and tight to the wood.
Leave a stump 10-20cm high. In cases where it has been coppiced before and there is a lot of regrowth it is easier to cut higher than this, where the stems are more separate and the weight is less, and to trim the stump afterwards.
During the early stages many trees will get hung up. To untangle these, lift the butt and pull it briskly away. If the tree is too heavy to lift, seek someone with more experience to bring the tree down safely.
Deal with hung up trees immediately – never leave them. Don’t let anyone walk underneath the tree until you have dealt with it.
Stacking timber
Timber should be sorted before it is stacked or burnt (in the case of making charcoal). Stacking and clearing should be done thoroughly to avoid problems later.
Make sure clearing and stacking keep pace with felling.
Timber which is to be seasoned should be stored as a cord prior to removal from the woodland.
Dealing with brushwood
Clear the site, but don’t tidy it. Dead wood, both fallen and standing, is an important habitat. Brushwood and excess timber should ideally be piled into habitat stacks to rot down. Pile habitat stacks with the butts all facing one way.
Unless deer are a problem, avoid piling brush on top of cut stools or where it will interfere with access later.
Leave wood to decay where practical or chop it up for mulch. If there is simply too much, small, controlled fires may be used. Let the local fire brigade know beforehand. Situate any fire so that the smoke does not blow across the work area but close enough to minimise the amount of dragging.
After work, make sure fires are put out before leaving the site.
Using chainsaws
Sometimes a chainsaw operator may be needed in coppice work. Chainsaw operators should wear protective safety clothing and equipment.
Tree identification
Correct tree identification is important.
If working in a team, make certain that everyone knows the species or individual trees to be coppiced and those to be left alone. If you are not certain of the group’s ability to identify species, mark the trees to be coppiced.
Tools and equipment
Depending on the size of the team adjust the quantity of equipment taken to the site. Ensure the tools are in good condition before using them.
- First aid kit
- Appropriate protective gloves
- Hard hats
- Large and small bowsaws
- Billhooks
- Small felling axe
- Slashers and loppers
- Grubbing mattocks
- Spade
- Mell or maul (for making cords)
- Pitchforks
- Rope
- Sharpening stones
- Wedge
- Sledgehammer