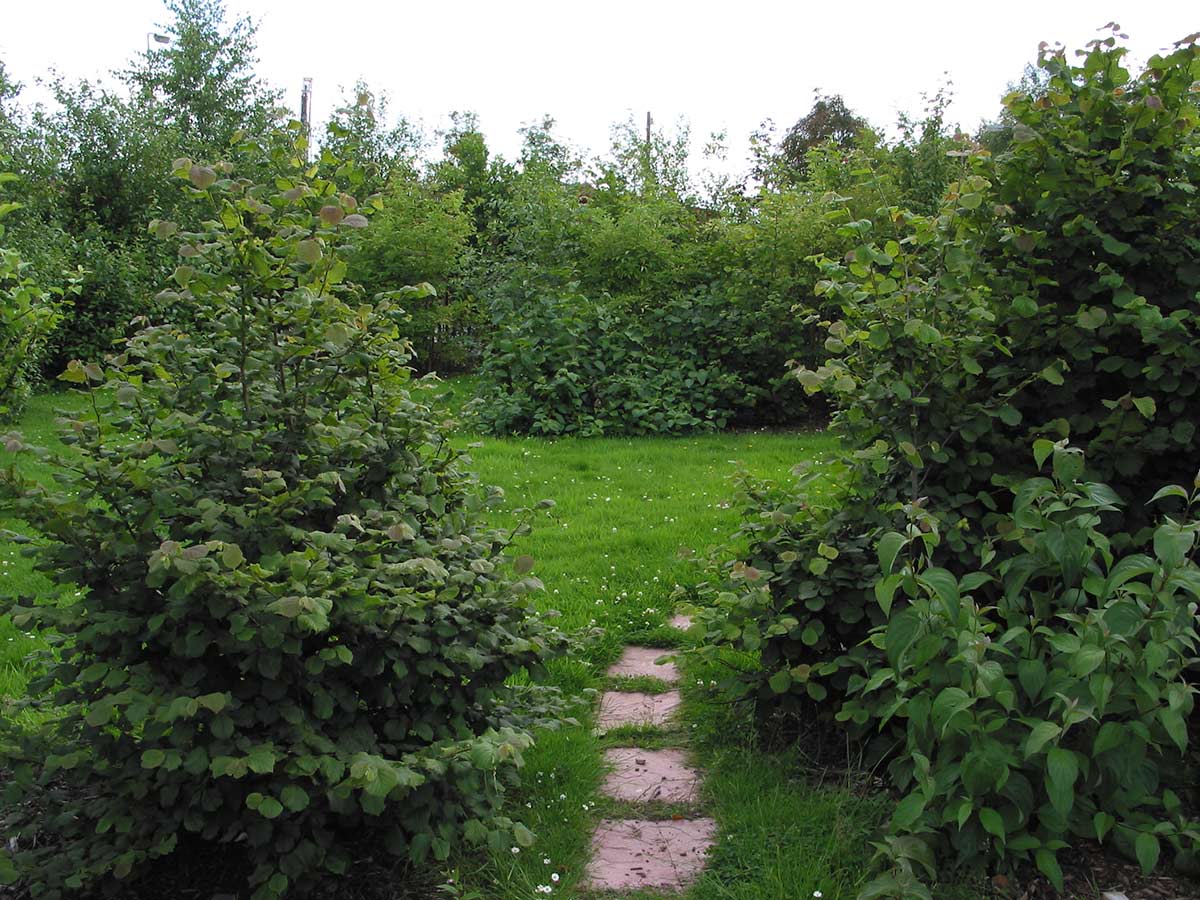
Felling non-native species to retain the character of a woodland can involve anything from pruning and removing saplings to full-scale felling of a mature tree. The trunks are snedded before being logged up to provide usable timber.
Hands-on techniques for felling trees
Basic Felling Techniques
Note: on this page, ‘front’ and ‘back’ are arbitrary terms, the front being the side towards which the tree is intended to fall.
Study the tree and its surroundings closely to determine which way to fell it. Assess the distribution of the weight on the crown and the space available to drop it into. Plan to avoid obstacles – particularly overhead cables, fences, old stumps and other trees.
Note also the wind, strength and direction. If the tree crown is swaying heavily don’t fell.
Before starting to cut, make sure that the escape route is clear, check there is no one in the danger zones. If two people are involved, decide who will keep hold of the saw. Warning notices should be put up on any path crossing the area, hazard tape should be used to cordon areas off and people should be employed to warn passers by.
Clear the area around the base of the tree before starting to fell.
When the tree starts to fall, step back down the escape route, watching the tree. If it falls towards you, don’t run, but stay reasonably close to the trunk and step sideways to evade it. Watch out for kickback and splitting timber.
On slopes, fell uphill if possible.
After felling tidy up and cut leaving a low stump.
Felling Larger Trees
The procedure described below is suitable for trunks up to about 200mm (8”) diameter at the base. Anything larger than this should only be felled by a trained and competent person.
Cut away any buttress at the base of the tree.
It is often easiest to cut the felling sink (birds beak) by sawing the horizontal cut, then axing away the wood. It is easier this way to make the two cuts meet exactly.
The felling cut should be parallel to and a few centimetres above the back of the sink. The height difference makes a step which reduces the likelihood of the butt bouncing back.
Give an adequate hinge of 3cm minimum to control the speed and direction of fall. A hinge that is thicker at one end will cause the tree to twist towards that end as it falls.
Felling Small Trees
Trees up to 8cm diameter can be cut straight through.
Trees up to 15cm diameter should be undercut on the front about a third of the way through, before the felling cut is made from the back.
Problems
Trees heavily weighted in one direction
Do not try to remove one or more limbs to balance the tree, this is for professionals. You can usually assume the tree will fall the way it is leaning, no matter what precautions you take.
A tree weighted away from the intended direction of fall must be pulled back with force sufficient to overcome its entire weight. Winching will exert more force more constantly than volunteers pulling on a rope, as well as being a lot safer. Make sure that the winch anchor point will take the weight.
Fix the rope or winch cable two thirds of the way up the main trunk before starting to fell. The rope should be long enough for the volunteers to be outside the danger zone.
Dead trees
Dead trees are liable to give way unexpectedly or to shed limbs, therefore they are best left standing and handled by a qualified expert. Check for dead biomass on healthy trees. If the tree isn’t heavily rotten, watch for signs of rot such as pulpy or black sawdust, or liquid. Carry on, but leave a larger hinge and work slowly.
Hung-up trees
If a tree gets hung up, deal with it immediately. Never leave a site with a hung up tree.
To untangle a small tree pull the butt away from the stump. If it is still attached, cut it clear or use a felling lever.
To shift medium sized trees, get one or two stout poles. Lever up the butt and slide it a few cms. Repeat this until the tree falls clear.
Larger trees need winching. Make sure the anchor point is strong enough. It is often easier to winch the trunk sideways from the stump.
Never try cutting sections off the trunk.
Snedding
Snedding is best done with a billhook or loppers, particularly for small branches. Bowsaws are useful for larger branches.
Cut from the butt of the tree towards the tip.
Stand to one side of the tree whilst cutting branches off the other.
This leaves the tree trunk between the billhook and the person snedding.
Large branches growing up from the trunk should be felled in the same way as trees.
Sned as close to the trunk as possible to produce clean logs which are easier to transport and handle.
Look for branches taking some of the weight of the tree. The tree may move as the branch breaks. Roll the tree to take the weight off the branch before snedding it.
Logging Up
Once a tree has been snedded, cross cut into logs of whatever size is required.
It is usually easiest to start at the tip where the tree is lightest. Support the tree so the cuts will open as you saw.
When cutting logs, balance them on another trunk. This gives straight logs for stacking or making cords.
Stacks must be stable and no more than 2m high.
Pruning
Never leave a stub when pruning. It will die back and allow rot into the heart of the tree.
Small branches 5cm can be cut straight through. Cut with one hand, taking the weight of the branch with the other.
Larger branches should be cut in three stages. The undercut should be about one third of the way through, extended to cut the bark around half of the branches diameter. This stops the branches splitting or the bark tearing.
Fires
It may be necessary to uses fires to burn branches and trimmings. Situate it so that the smoke does not blow across the work area but close enough to minimise the amount of dragging.
Leave wood to decay where practical or chop it up for mulch. If there is simply too much small, controlled fires are OK, providing the client knows. Also let the local fire brigade know beforehand.
After work, make sure fires are out before leaving the site.
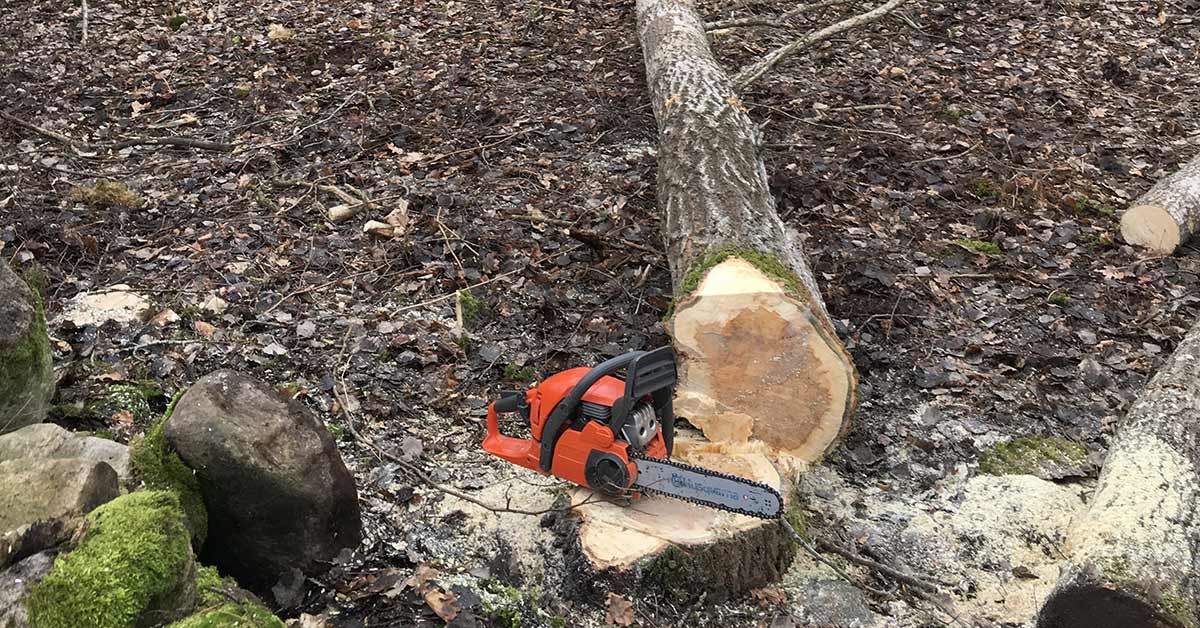
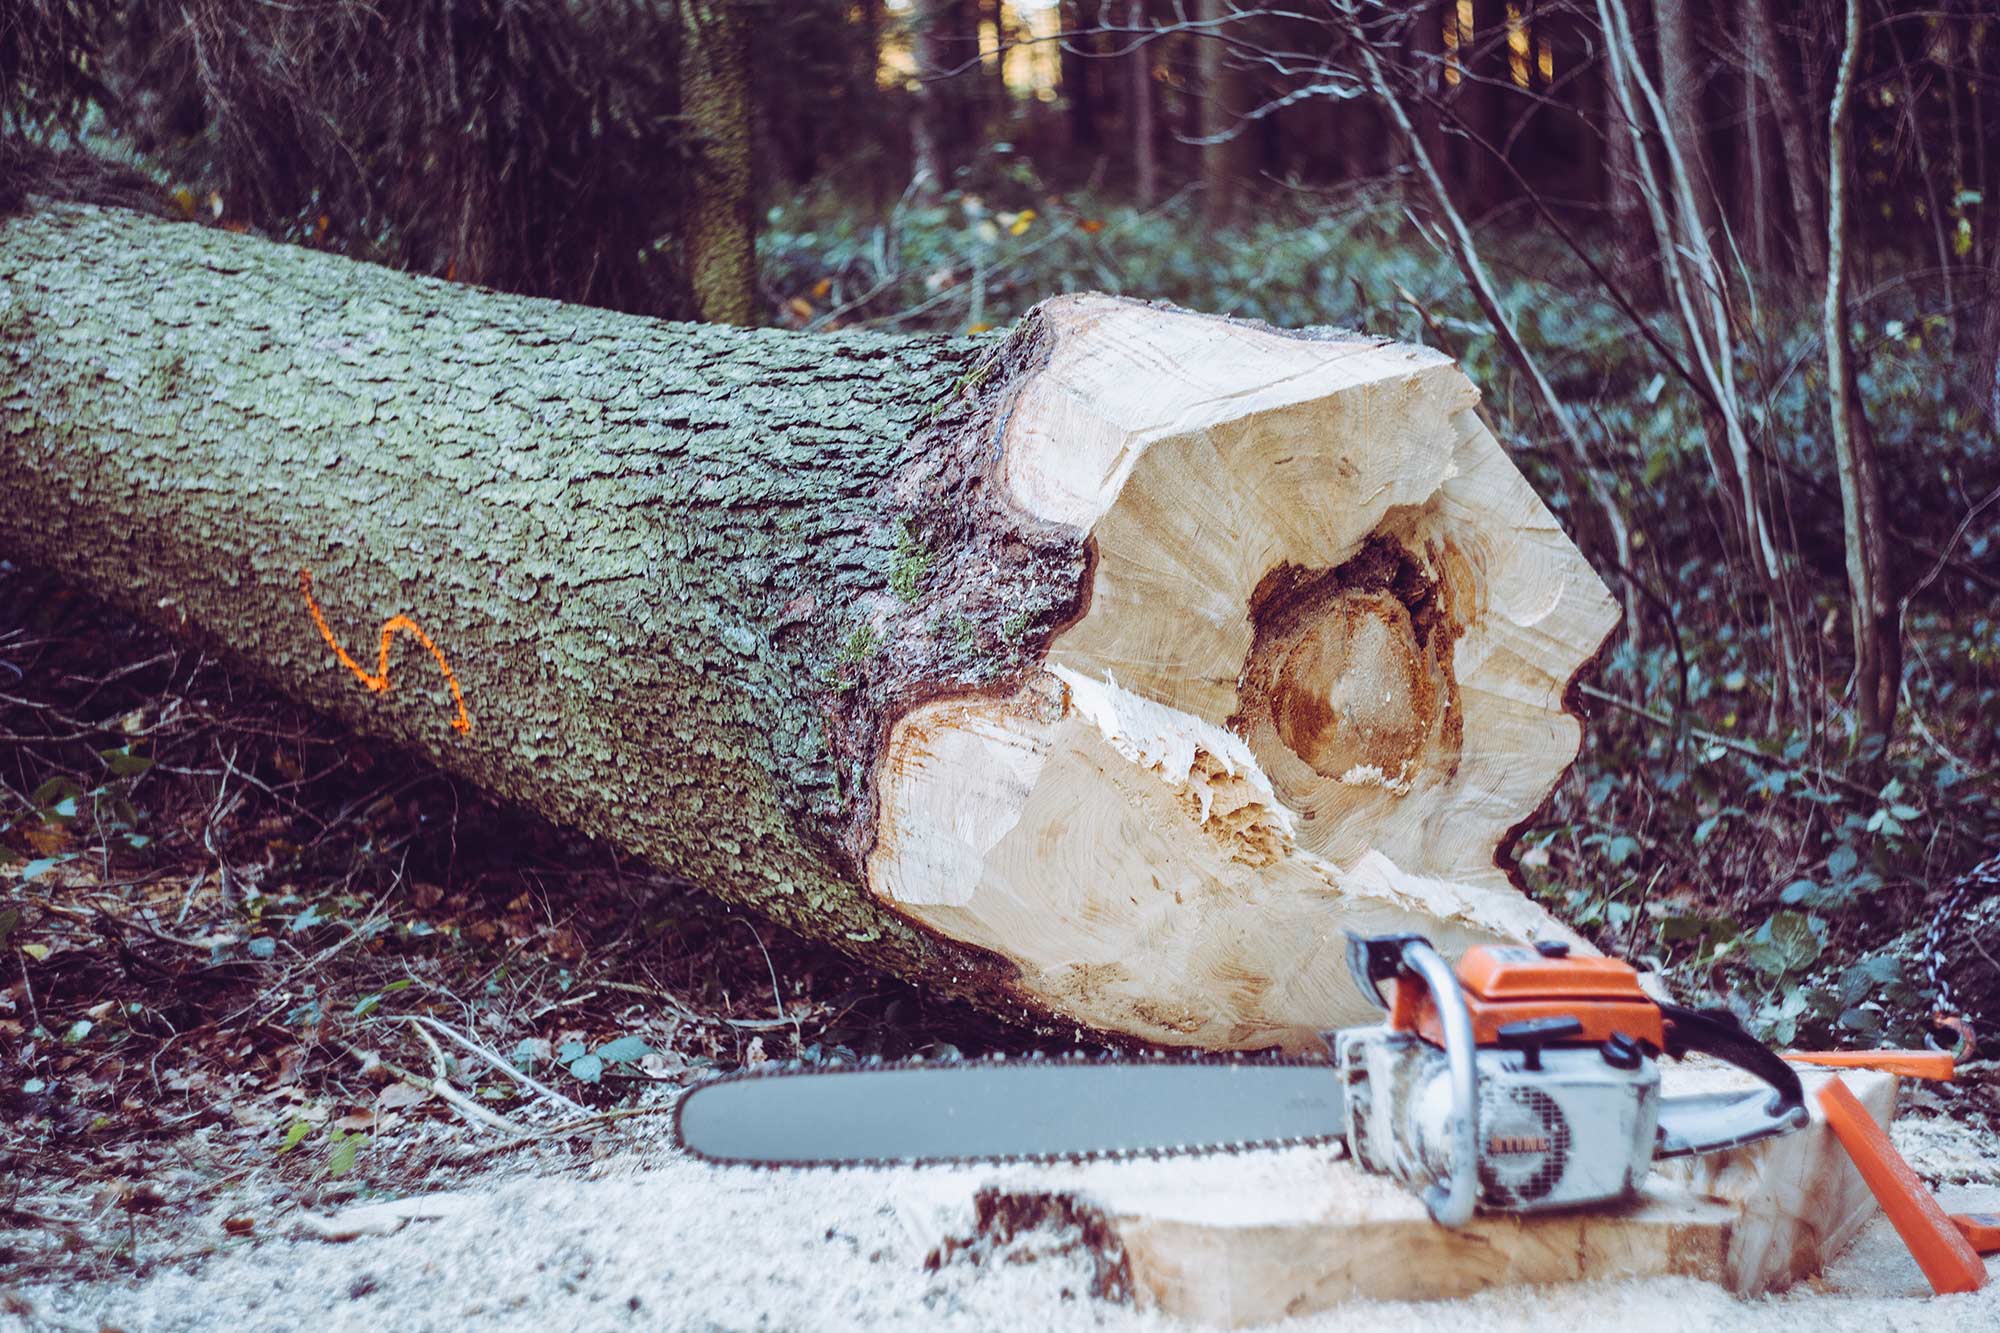
Using Chainsaws
Sometimes a chainsaw operator may be needed in coppice work. Only those individuals holding a TCV chainsaw card may use one on any site where TCV staff, volunteers or local groups covered insurance are working. To get a card you must have a National Proficiency Test Council (or equivalent) certificate and be able to provide evidence of continuing competence. Operators must wear protective safety clothing and equipment.
Season
September to March, i.e. outside the breeding season.
Preparation and working with groups
Site visit
Visit the work site in advance to gain a clear idea of what you will be doing on the day.
Assess the suitability of the project for the group you will be leading and the time available.
Check for obstacles to felling – particularly overhead cables (don’t fell within 15m of electricity cables) and fences. Discuss any obstacles with the client in case the work plan needs to be altered. Decide what is to be done with the cut wood. Undertake a risk assessment for both project and site.
If there is public access to the site, plan exclusion zones and lookout points.
Tools and equipment
Depending on the size of the team adjust the quantity of equipment taken to the site.
Check the tools are in good condition before using them.
- First aid kit
- Appropriate protective gloves
- Goggles
- Hard hats
- Axes
- Bowsaws (small and large)
- Billhooks
- Loppers
- Slashers
- Mattocks
- Felling levers
- Polesaws
- Sharpening stone
- Wedges and sledgehammer
- Winch and rope
- Matches and firelighting equipment
- Hazard tape
- Ensure all team members are wearing appropriate footwear and clothing and issue the specified safety equipment.
Introduction
Introduce the site, the work and the reasons for doing it.
Walk around the site explaining what work will be undertaken. Identify potential hazards and explain how people can work safely around them.
Demonstrate tool use
Demonstrate and explain the safe use, carrying and on-site care of the tools before starting work.
Demonstrate work techniques
Demonstrate all new work techniques as you come to them. This will save mistakes and avoid accidents.
Plan the location of log piles to minimise the distance wood is dragged.
Demonstrate correct lifting technique (bending the knee and keeping the back straight so that the leg muscles are used and the back is not strained).
Organisation of team
Divide the team into small groups or pairs and ensure everyone has a turn at each job, although each person should sned and log up the trees they fell.
See that no one part of the job holds up the others. If necessary move people around to ensure this.
Beware of boredom and fatigue. Let people change jobs at breaks. Make sure everyone is part of the team.
Check that people work at safe distances from each other. People felling trees should be at least three tree lengths apart, but within earshot of each other. At all times everyone should be kept informed of the location of felling zones. The leader should check, assist and encourage people and ensure work standards are maintained.