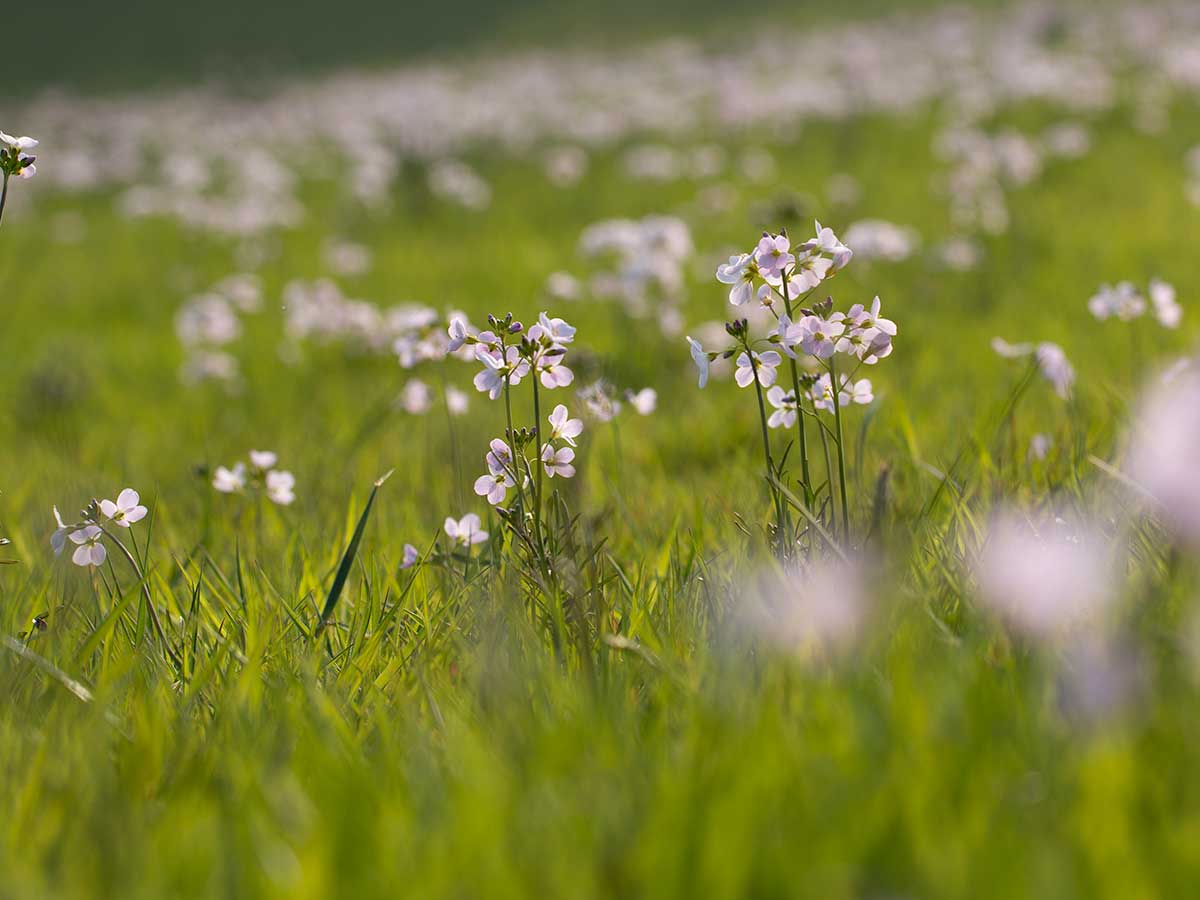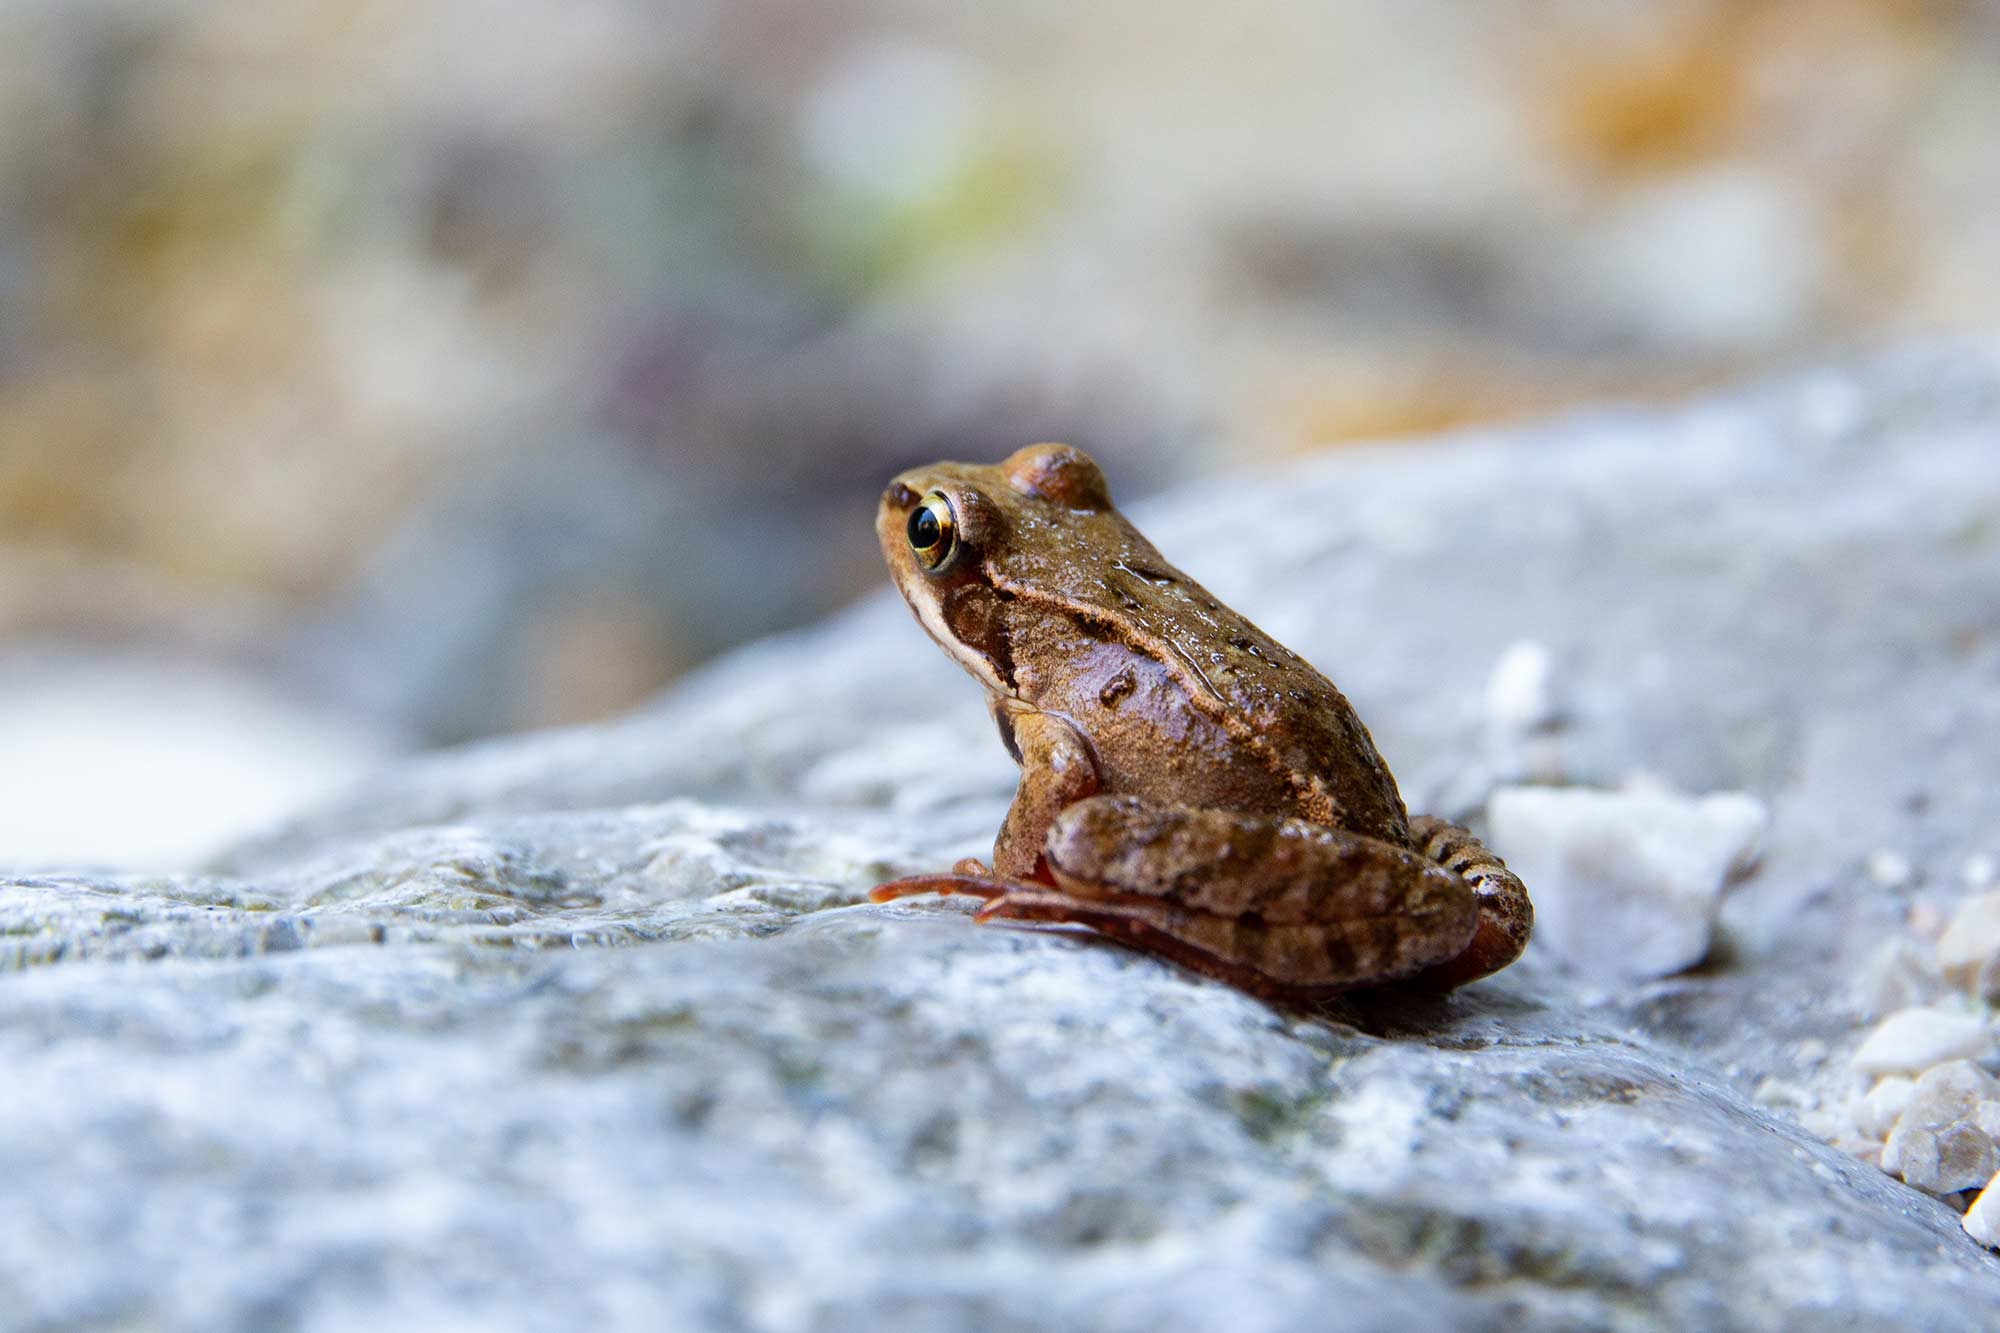
The world’s frog, toad, salamander and newt populations are disappearing at an alarming rate. The reason for this being mainly that their natural habitats – ponds and bogs – are also disappearing. However, you can make a difference!
In the past, every village had a pond. Farmers who had no rivers nearby dug ditches joining the rivers in a broad network, which allowed plants and animals to spread. However, ditches are now often neglected and allowed to dry up and farmers prefer to use piped water. This leaves the countryside a drier place where water-loving wildlife can struggle to find a home.
Ponds have been around for millions of years and, during this time, many species of plants and animals have become adapted to the conditions that ponds provide. It would make a tremendous difference to our native wildlife if you decided to build a wildlife pond in your garden.
Before building your wildlife pond
Before building your pond, there are certain things you should bear in mind:
- Identify a site – if you’re lucky enough to have a site that contains an unpolluted water supply, you may only need to create a new hole for your pond!
- Make sure the site has no existing wildlife or archaeological interest – if the site is already of value do not dig it up. You can put new ponds near to existing wetlands, but do not replace them.
- Check that you are not constrained by services (gas, electricity, water) – it is of vital importance to make sure that there are no private or public services crossing the site.
- Prepare a preliminary design for the pond – make a rough sketch, including ideas about the size and profiles to be excavated.
- If you have small children, consider very carefully whether or not a pond is suitable for your garden or, if you do create one, whether protection should be provided.
- Go ahead with pond creation.
Adapted from “The Pond Book” (1999) by P. Williams, J. Biggs, M. Whitfield, A. Thorne, S. Bryant, G. Fox and P. Nicolet. (Page 71)
Where should you place the pond?
- The ground should be level or the water will run out. If your garden is on a slope, you may need to create a terrace.
- Put it at a place where it will get some shade, but it should also get plenty of sun.
- Don’t put it underneath trees or shrubs or you will spend all of your autumn removing leaves.
- Do not place it where the new occupants will be disturbed by humans.
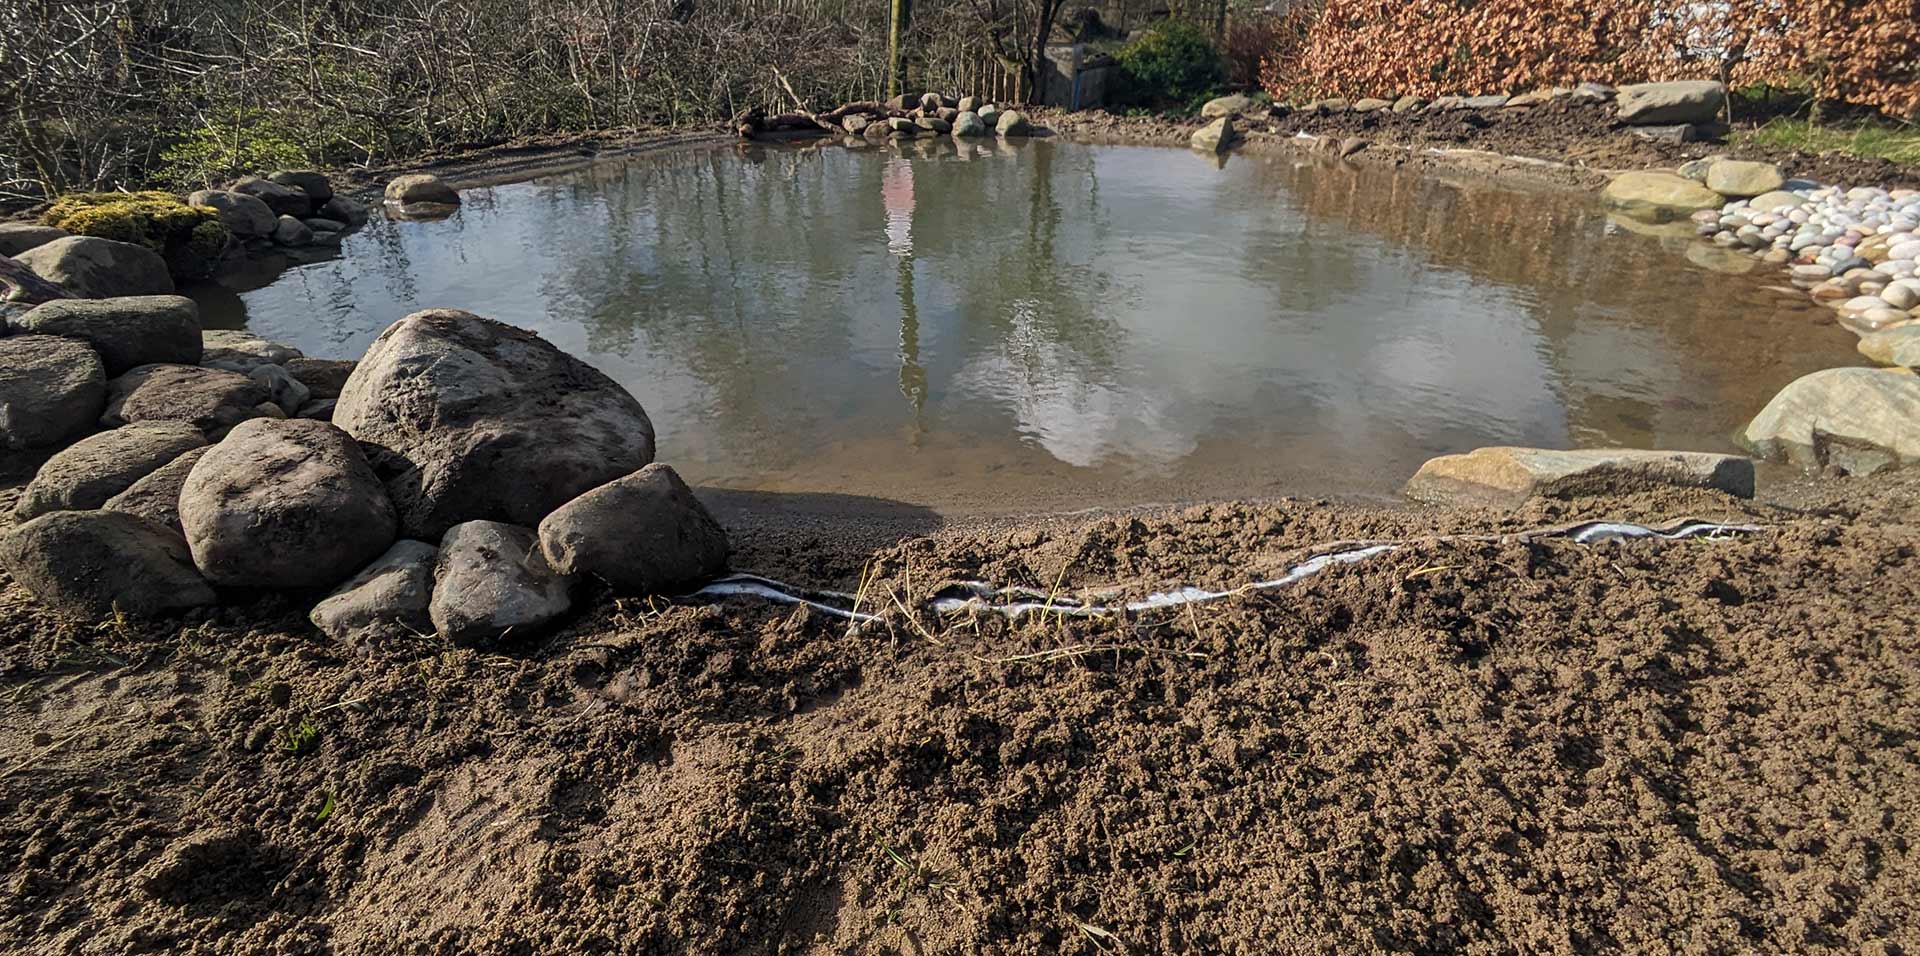
Building your wildlife pond
When building a pond, there are certain things you will need to consider.
Depth
The pond must have a depth of at least 60cm (2′) because you need a place deep enough for oxygenating plants and for animals to over-winter or stay cool during the summer months.
Shape
The pond must have an area that slopes gradually on at least one side. This will allow animals such as hedgehogs to climb out if they fall in and provide the right type of conditions for marginal pond plants.
Shade
A rotting log and rocks help to provide shade and shelter for animals (such as frogs and newts).
Liner
A flexible liner is probably best, with butyl rubber the best material for durability. It means that you can allow your imagination to govern the shape of the pond (although a basic kidney or oval shape makes most efficient use of the liner and is simplest to build). A preformed liner is best when there is very stony ground.
How big should your pond be?
As big as space allows! But try to bear in mind the minimum depth.
Installing a liner
It is relatively easy to install a flexible pond liner. You need to make sure that there is at least 3cm of sand between the liner and the soil so that the chances of puncturing the liner are minimized. You can also use old carpet or thick layers of old newspapers.
First of all, you will need to find out how much liner you need. This is done using the following:
Length of liner = Maximum pond length + twice maximum depth
Width of liner = Maximum pond width + twice maximum depth
For example, a pond of maximum dimensions 8m x 6m and 1.5m deep would need a liner:
8 + (2 x 1.5) by 6 + (2 x 1.5) = (8 + 3) by (6 + 3) = 11m by 9m
The following is a general running order for the rest of your installation:
- Dig the hole for the pond in the size and shape you want. Remember to dig the hole deeper than the final depth to allow room for the carpet/newspapers/sand that will protect the pond liner. Keep any grass you have dug up to one side to tidy up the edges later.
- Dig a shallow trench around the edge for the pond for the edge of the liner to be hidden in later.
- Clear away any sharp stones or other objects from the hole.
- Line the hole with the carpet/newspapers/sand – the thicker, the better!
- Carefully spread the pond liner over the hole and smooth it into the contours of your pond. Ensure there is enough overlap at the edges as the weight of soil and water will pull the edges in a little.
- Cover the pond liner with a 5-10cm layer of subsoil (stone-free where possible). Try to avoid walking on the liner if you can.
- Add the water slowly and it will gradually pull the liner down to fit the hole snugly.
- Once the pond is full, trim back the liner and tidy the edges using the grass you saved from digging the hole.
And the illusion is complete! Leave the pond for at least two weeks before planting it to allow any chemicals from tap water to evaporate.