The many miles of recently planted, established, or derelict hedgerows need managing. It is important to check the regional style to be adopted. The techniques on this page follow those appropriate to the Midland Bullock hedge.
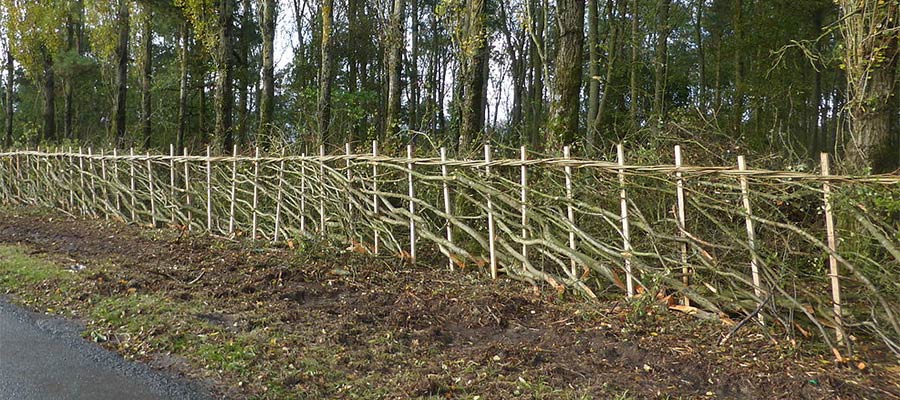
Repairing a neglected hedge involves clearing out dead wood, selecting and laying pleachers, trimming, staking and binding the hedge to make it stockproof.
Hands-on techniques for laying a hedge
Clearing
Clear around the bottom of the hedge to give yourself room to work. Get rid of any broken glass and rubbish. Clean away dead rotting timber from the hedge litter.
Take note of old wire fencing – billhooks can bounce off it.
Selecting pleachers
Pleachers are the stems that are cut and laid.
Cut out all dead wood and all growth that is out of line with the hedge. Keep sufficient spare pleachers until you are certain they are not needed.
Always remove elder. It grows vigorously and suppresses other plants, but cannot be laid properly.
Whenever there is a choice between young and old pleachers, lay the young ones because they regenerate better.
Try to use relatively evenly spaced pleachers.
Preliminary trimming
Trim excess brush from the nearside of the hedge, ie the side opposite the stock, cutting back to the line of the hedge.
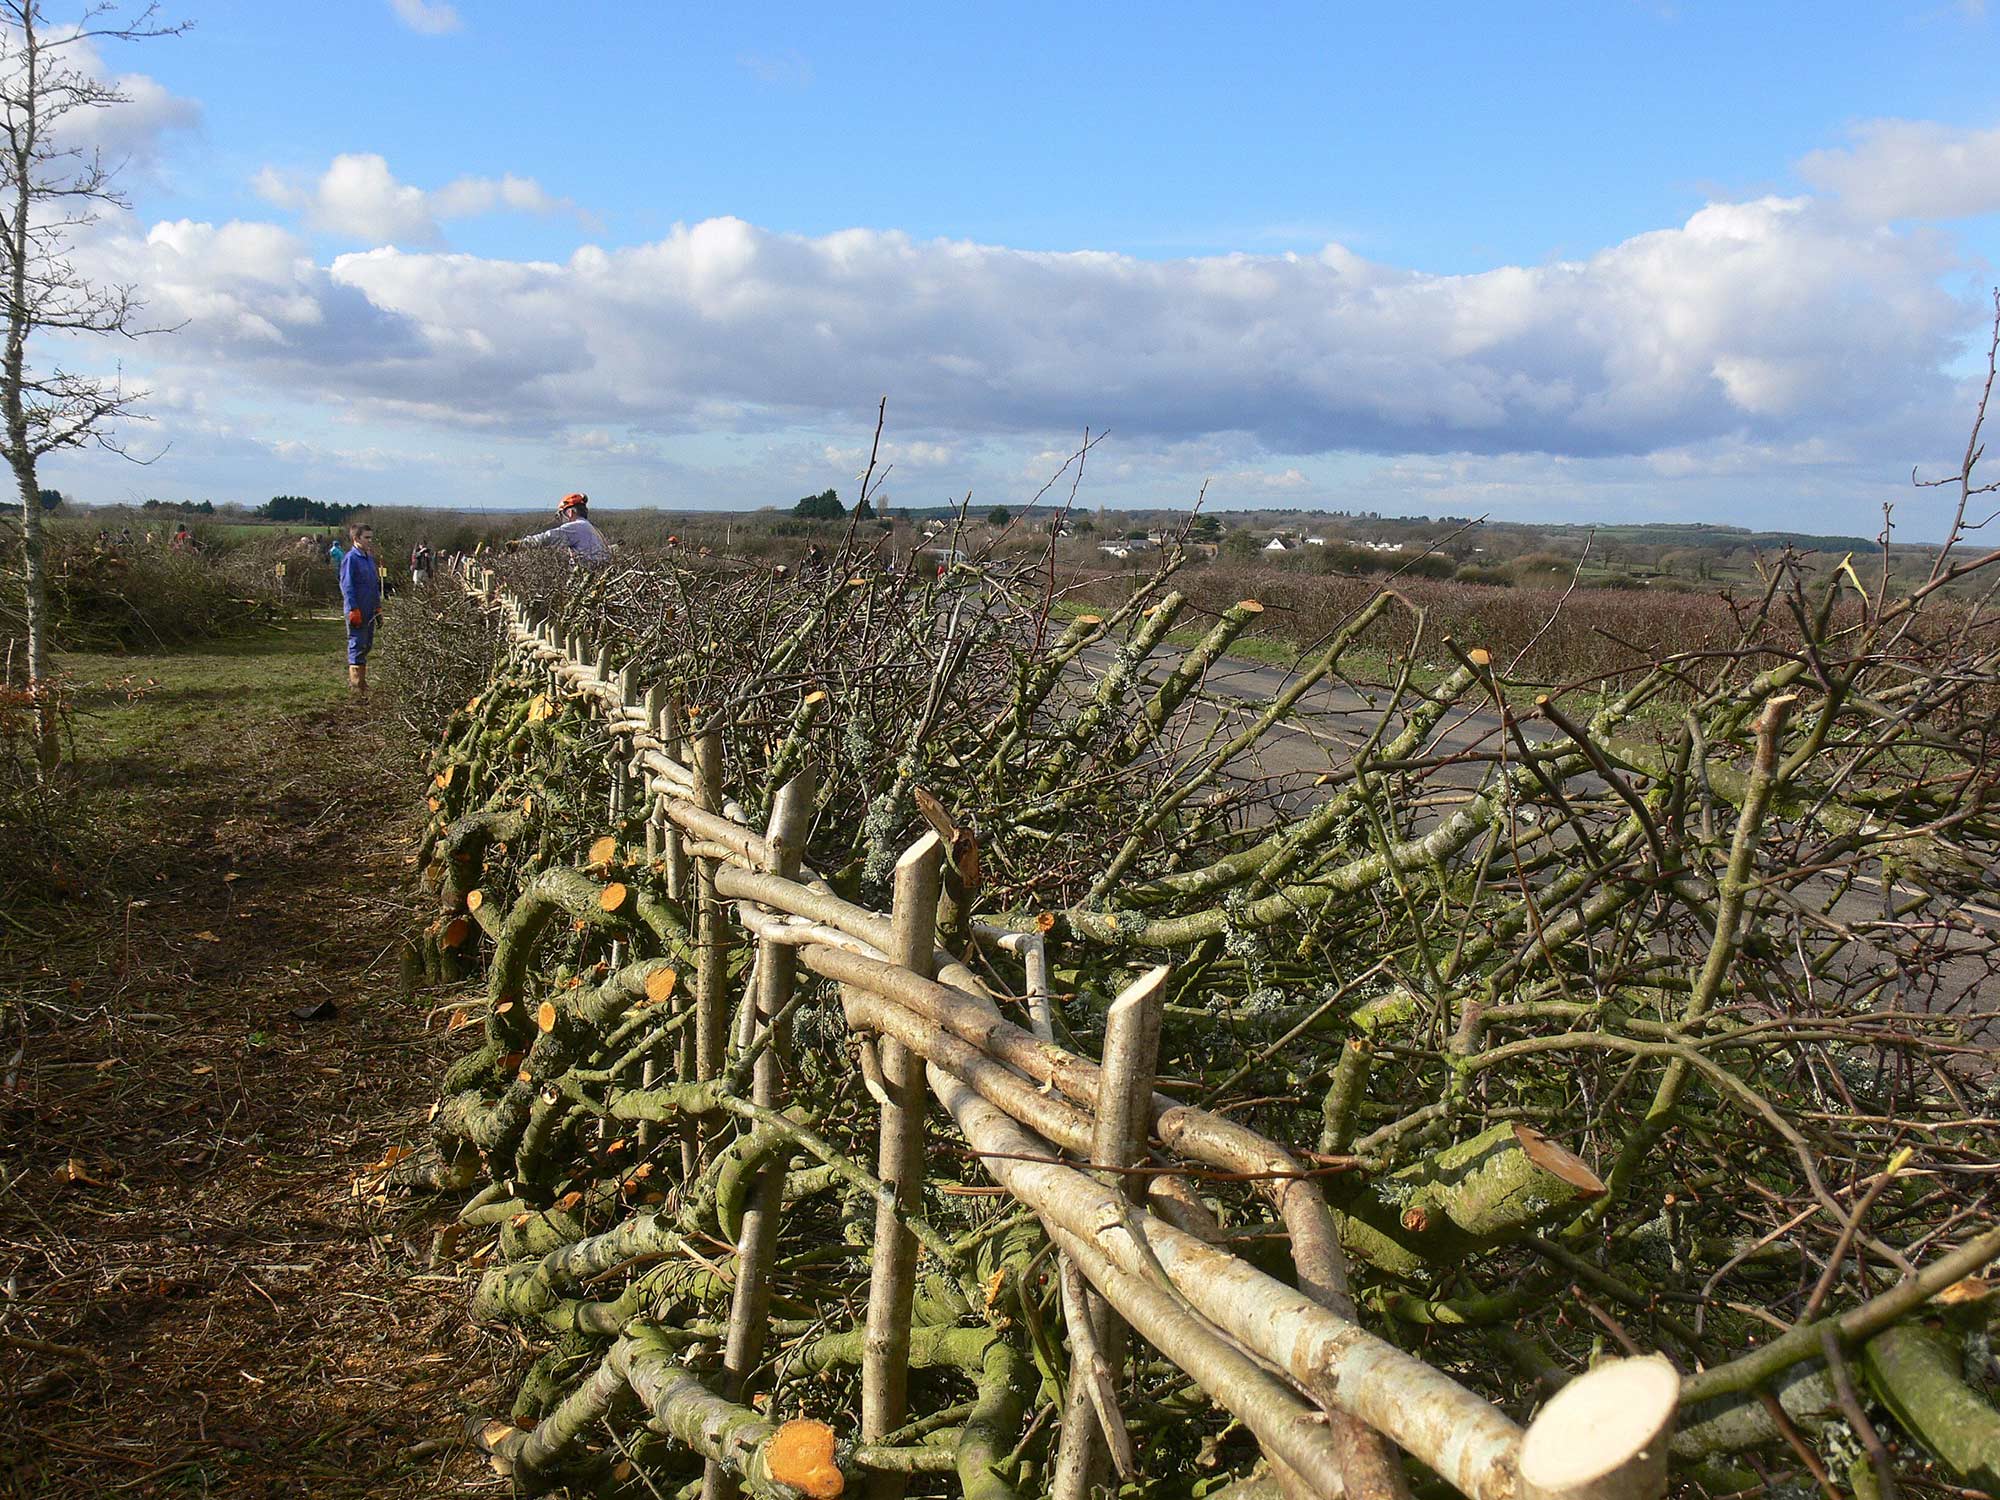
Laying the pleachers
The first group of pleachers cannot be laid into the standing hedge alongside. They should be cut and laid out to one side so that they are available to fill the gap left when the last pleachers of the adjacent section are laid.
Make sure the pleacher you are about to lay is not tangled in the rest of the hedge.
Cut so that the trimmed stump will be at between 3-10cm above the ground.
If you are forced to cut higher than this, cut a notch in the stump to encourage low resprouting.
Cut through far enough that the pleacher will lower into place without forcing, but leave sufficient cambium and sapwood uncut to allow the pleacher to survive. See Laying hedges – the whys and wherefores of this ancient craft.
Lay uphill where possible to help the sap flow. But lay all the pleachers to the same angle, according to local style.
Staking
Stakes should be about 4cm diameter and long enough to be knocked about 50cm into the ground but still project about 10cm above the top of the hedge.
Put the stakes in as you go so that the brushy tops of the pleachers can be woven in between the stakes as you lay them.
Binding
Binding or heathering is done on most hedges to keep the pleachers in place and strengthen the newly-laid hedge.
Binders should be about 3m long and about 25mm in diameter. Hazel is best. Sweet chestnut, elm and willow are adequate.
Trimming
Trim the tops of the stakes after binding a section of hedge, then trim off all the spriggy bits sticking out of the hedge on the far side and even up its overall shape.
Fires
A fire (or fires) will be needed to burn the trimmings. Keep them small and situate them so that smoke does not blow across the work area, close enough to minimise the amount of dragging, but not so close as to scorch the hedge. After work make sure the fire is out.
Leaving the site
Find out how stockproof the hedge must be overnight or between work sessions and ensure you leave it so. This may mean erecting a temporary fence to fill the gaps.
Season
October to March, i.e. outside the breeding season for birds and while tree growth is relatively inactive, but avoid during frosty spells.
Preparation and working with groups
Site visit
Visit the work site in advance to gain a clear idea of what you will be doing on the day. Assess the suitability of the project for the group you will be leading and the time available.
Note the age and size of timber in the hedge and decide what cutting tools you will need. Check the source of staking and binding materials and determine what you will be doing with the trimmings and any rubbish. If using fires, let the local fire brigade know beforehand.
Undertake a risk assessment for both project and site.
Tools and equipment
Depending on the size of the team adjust the quantity of equipment taken to the site. Check the tools are in good condition before using them.
- First aid kit
- Heavy-duty leather gauntlets
- Hard hats
- Billhooks
- 1.5kg axes
- Loppers
- Slashers
- Canoe or cigar sharpening stones
- Large and small bowsaws
- Spades
- Grubbing mattock
- Mell or maul
- Pitchforks
- Polesaw
- Basic fencing materials (for erecting temporary fences and removing remains of old ones)
- One pair of fencing pliers
- Hammer
- Wrecking bar (crowbar)
- Matches and firelighting equipment
Ensure all team members are wearing appropriate footwear and clothing and issue the specified safety equipment.
Introduction
Introduce the site, the work and the reasons for doing it.
Walk along the hedge line explaining what work will be undertaken. Identify potential hazards and describe how to work safely around them.
Point out: any technical problems; the different species in the hedge – particularly those useful for staking or binding materials; any trees to be left uncut.
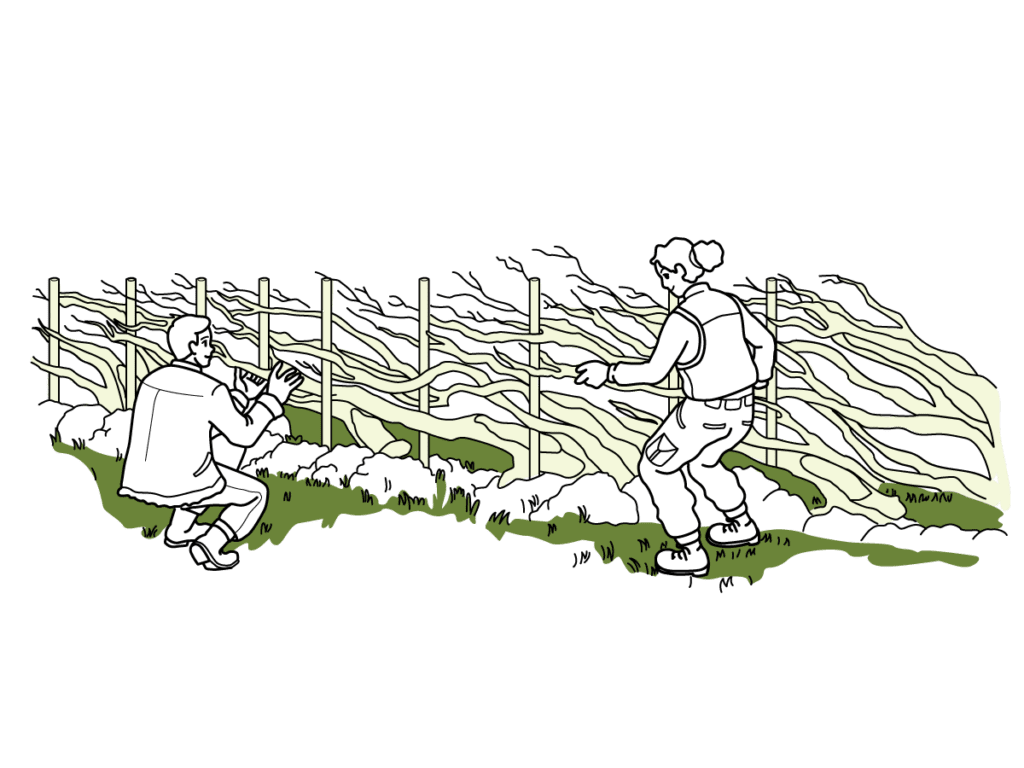
Demonstrate tool use
Demonstrate and explain the safe use, carrying and on-site care of the tools before starting work.
Demonstrate work techniques
Demonstrate all work techniques. This will save mistakes and avoid accidents.
Demonstrate correct lifting technique (bending the knee and keeping the back straight so that the leg muscles are used and the back is not strained).
Start by laying a short section of hedge with everyone watching. When the fastest worker has completed a few metres call everyone together and demonstrate staking and binding. Then, when the first person completes his or her section, call everyone together and finish off by trimming.
Organisation of team
Most of the group should be split into teams of two to lay the hedge. The others collect trimmings, look after the fire, cut and trim stakes and gather binding. Pair experienced and inexperienced volunteers.
Collection and burning of trimmings should be kept in balance with the work rate. Clear any backlog during a break or stop hedging and get everyone clearing for a while.
Everyone should get a chance at all jobs if possible. Swap people round at breaks if necessary. The leader or expert should work with each pair in turn, helping them and sorting out any problems.
Try to finish a certain length of hedge each day or each project, rather than leaving more started but unfinished.
Divide the hedge between pairs of workers. five to six metres per pair is a reasonable length for a day’s work depending on conditions and the skill of the volunteers.
Everyone should lay in the same direction. Right-handed people find it easier to cut from the right and to lay to the left. Left-handed people might need to work from the opposite side of the hedge. On slopes start at the top and work down so that the pleachers are laid uphill.
If there is a ditch, work from the ditch side. If there is no ditch, work from the side less frequently stocked. Be particularly careful when working next to roads.
The leader should check, assist and encourage people and ensure work standards are maintained.