- Common name: Wych Elm
- Scientific name: Ulmus glabra
- Family: Elm (Ulmaceae)
- How to identify Wych Elm
Picking
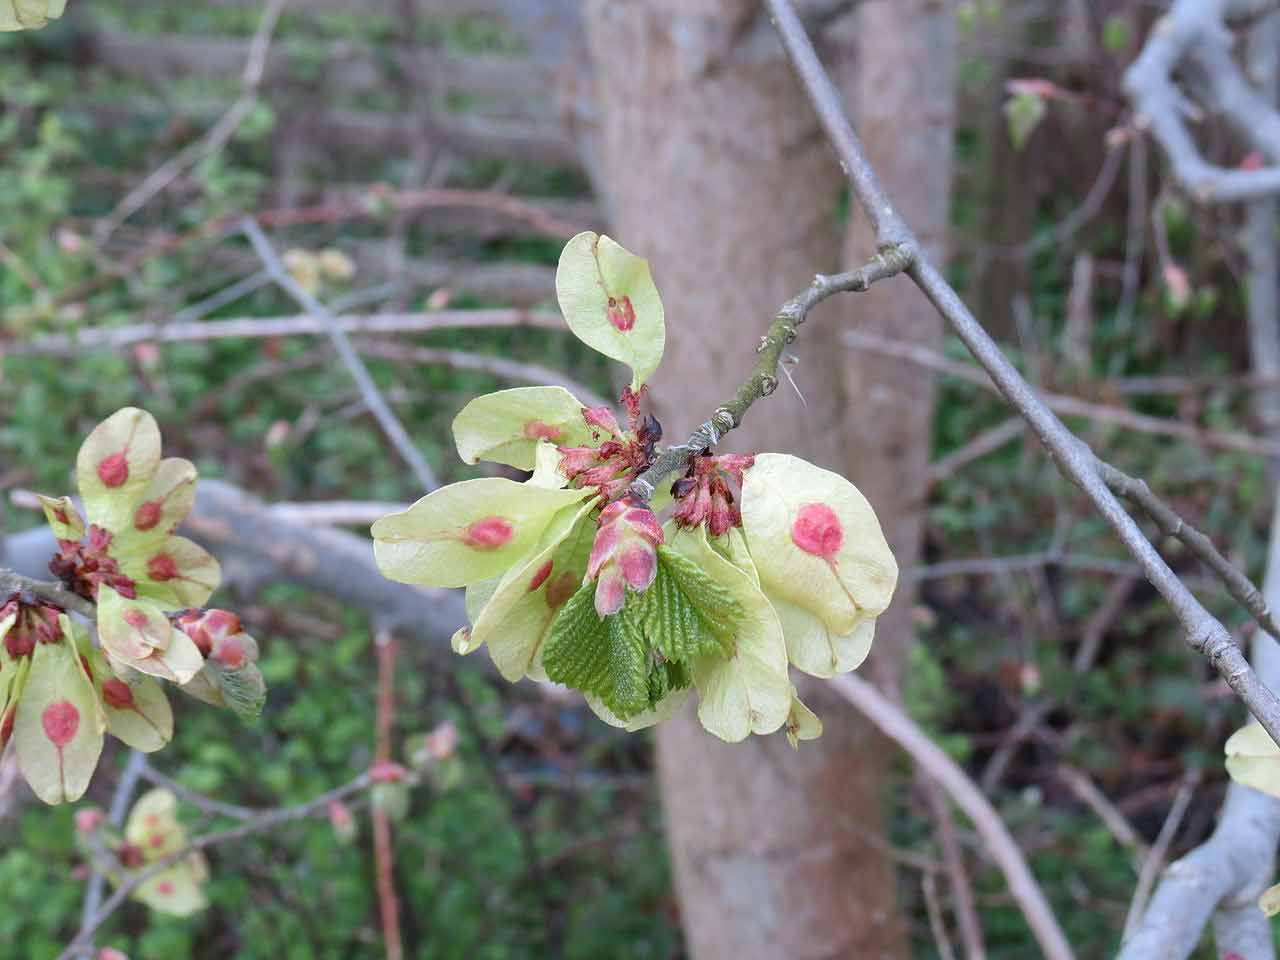
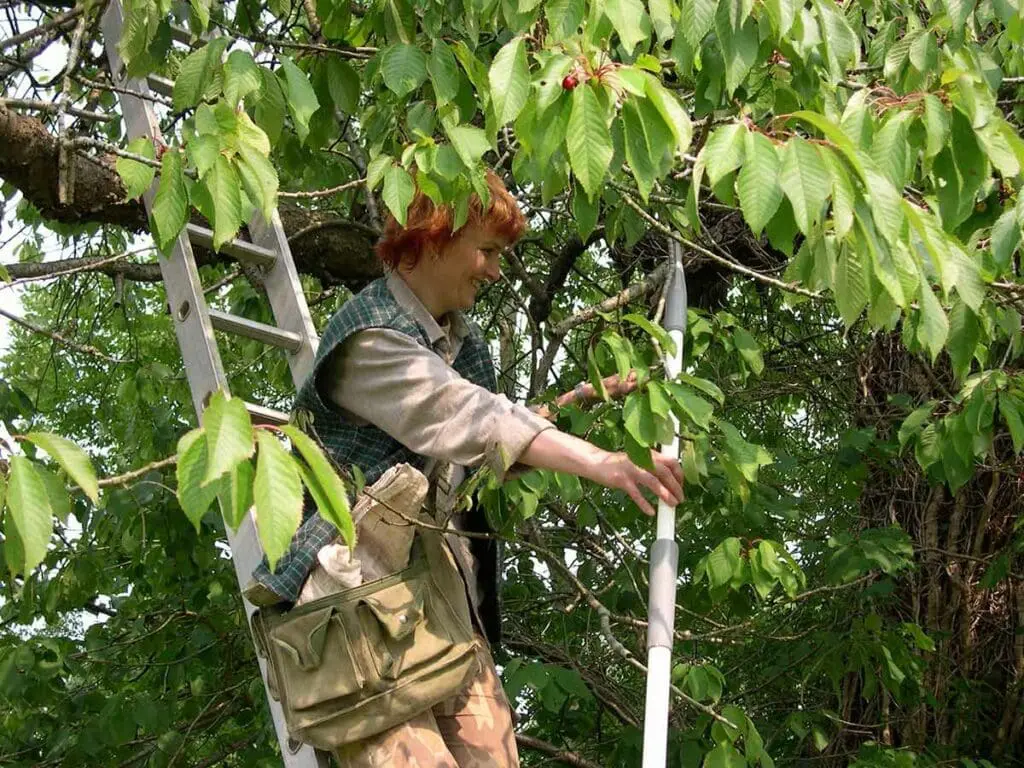
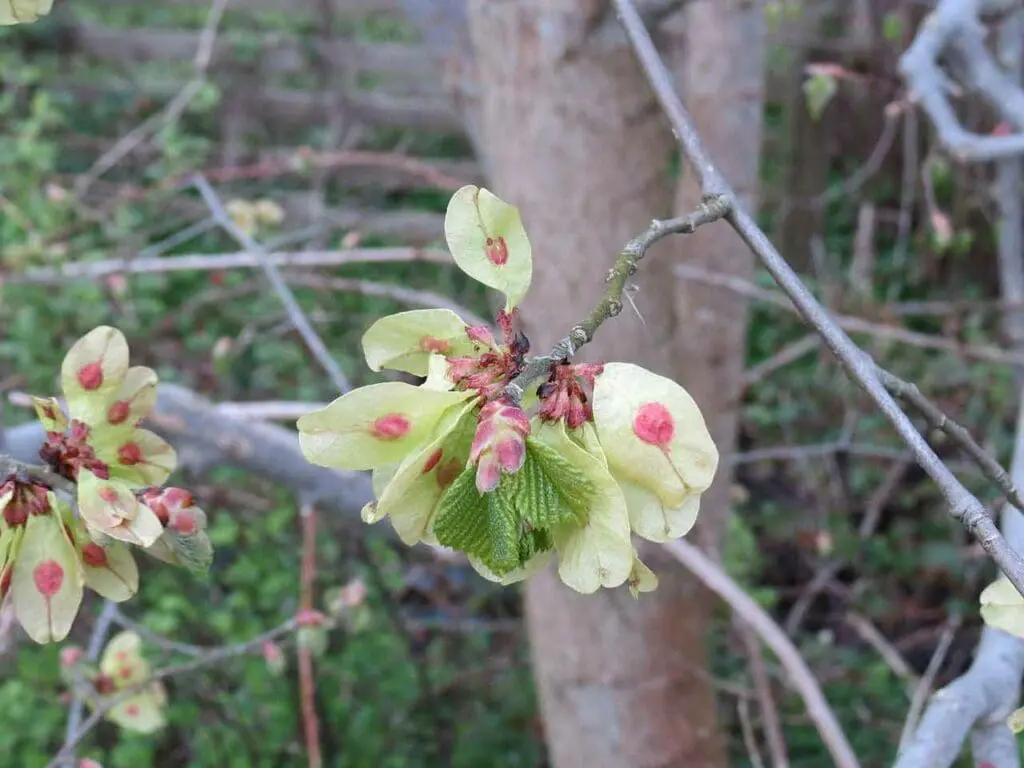
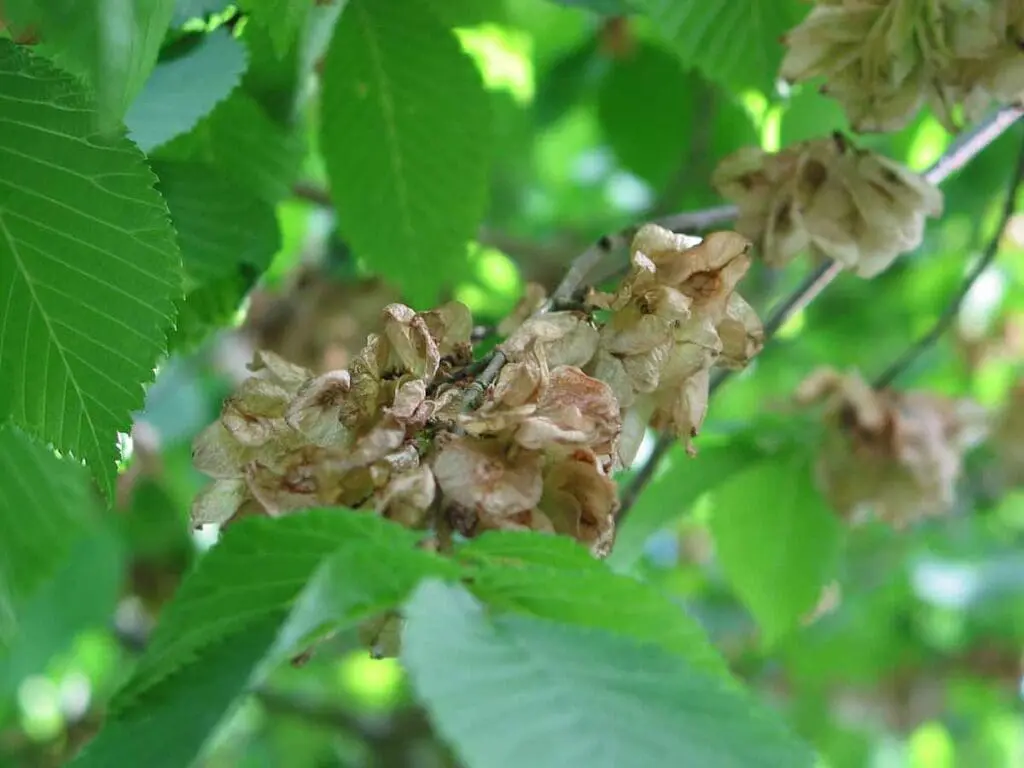
Wych elm produces the first seeds to ripen in the spring. Towards the end of May you should check to see if the green seeds have begun to turn brown. When this happens, they are ready to collect. If you leave it too long, they will be blown away by the wind. Normally, by mid-June, all the seeds are gone! Simply pull the bunches of seeds off the tree, taking care not to cause any damage.
Extraction and storage
Keep the collected seeds in cotton or hessian bags. They can be kept for a short time in buckets or plastic bags, but take care! These seeds will have a high moisture content. To make the sowing of these seeds easier, gently separate the bunches into individual seeds by pulling.
Pretreatment
These seeds are not dormant. For this reason they should be sown as soon as possible after collection.
Sowing
Wych elm seeds are easy to check for viability if you have only a few. Press the seed (the raised central portion) between the fingers. If it is full and firm, the chances are it will grow. If it feels empty, then not! This method is impractical if you have many seeds.
You might find that only a small number of these seeds will actually grow, so aim to sow them densely – maybe a few hundred in a seed tray or 5mm apart in a seedbed. If you are sowing outside, watch out for the wind! Even a light breeze can blow them away, but that’s just what nature intended. Cover the seeds with grit or compost to a depth of 5-10mm and firm.
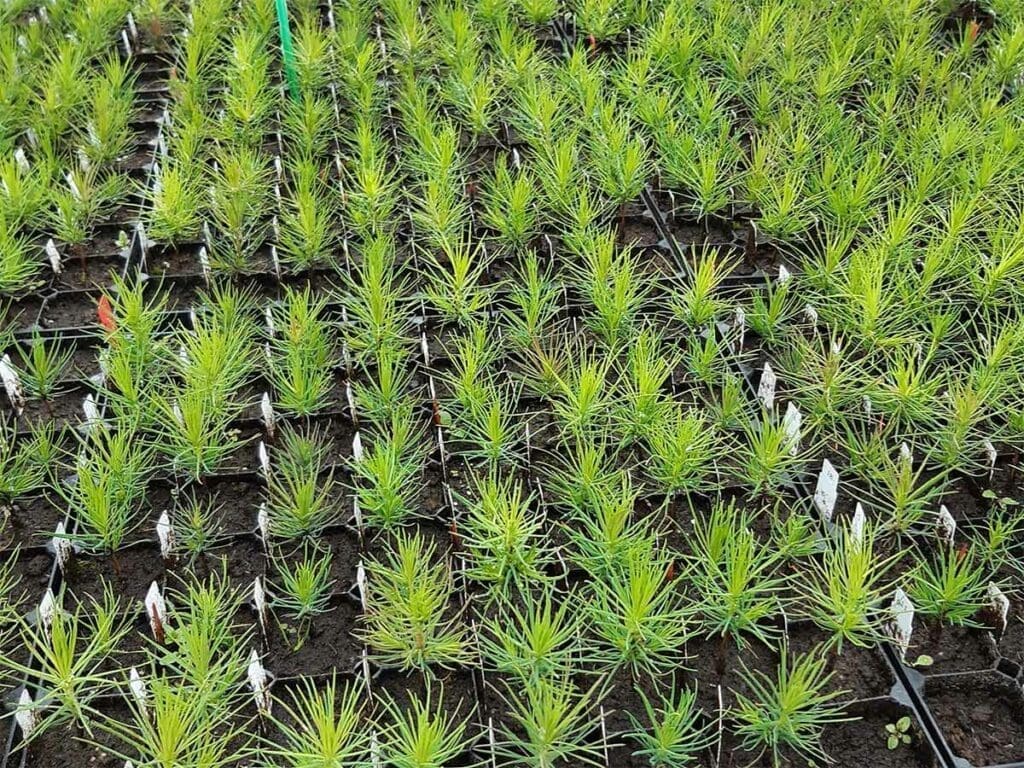
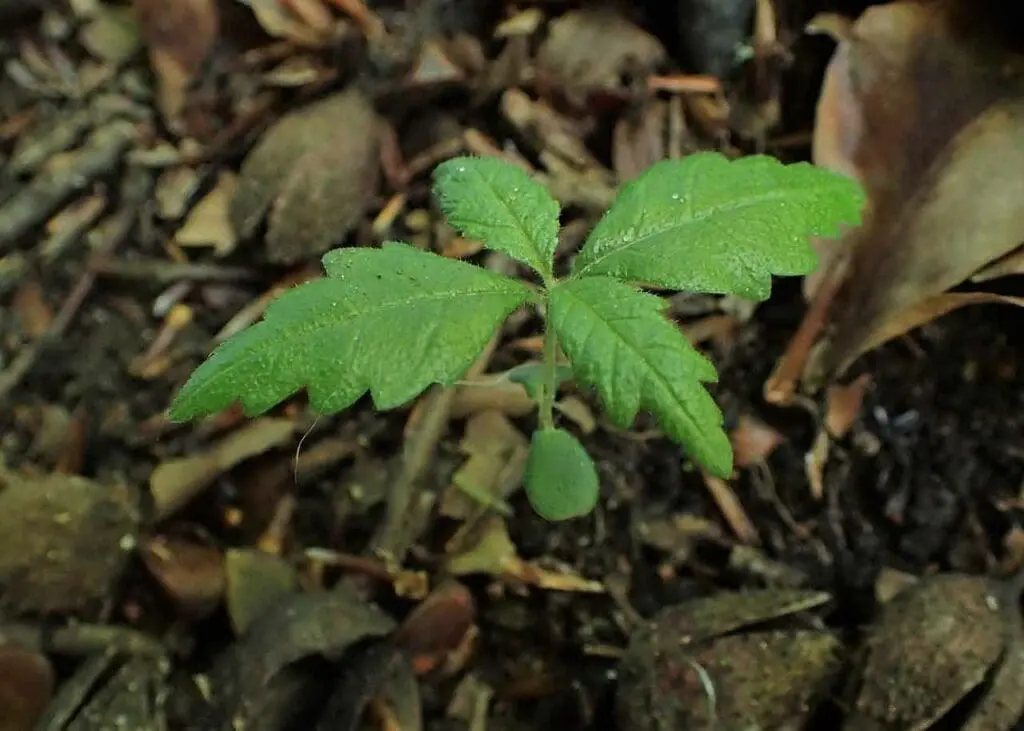
Expect to see young seedlings in just a few weeks after sowing. If the weather is cool, it will take a little longer than in warmer weather.
Watering
It is essential that these seeds are kept moist for the first few weeks. Water daily, maybe twice daily in warm, dry weather. Reduce watering once the seedlings have grown one or two centimetres.
Growing
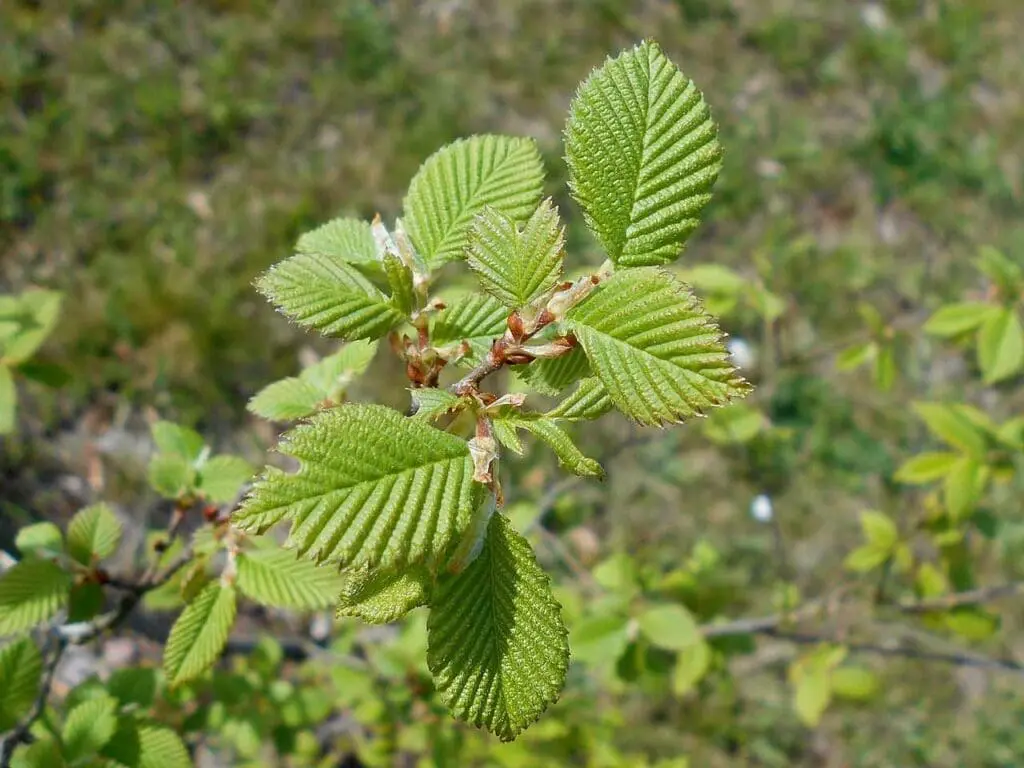
Those plants grown in trays or pots should be thinned or transplanted to allow them enough space to develop. In a seed bed they can be left for the next two growing seasons to provide you with a strong plant for final transplanting.
Planting
Prepare the site well by clearing away any weeds or grass and make a hole big enough to accommodate the root ball. Plant carefully in the hole, to the same depth as it was previously, and firm back the soil.

