- Common name: Ash
- Scientific name: Fraxinus excelsior
- Family: Olive (Oleaceae)
- How to identify Ash
Picking
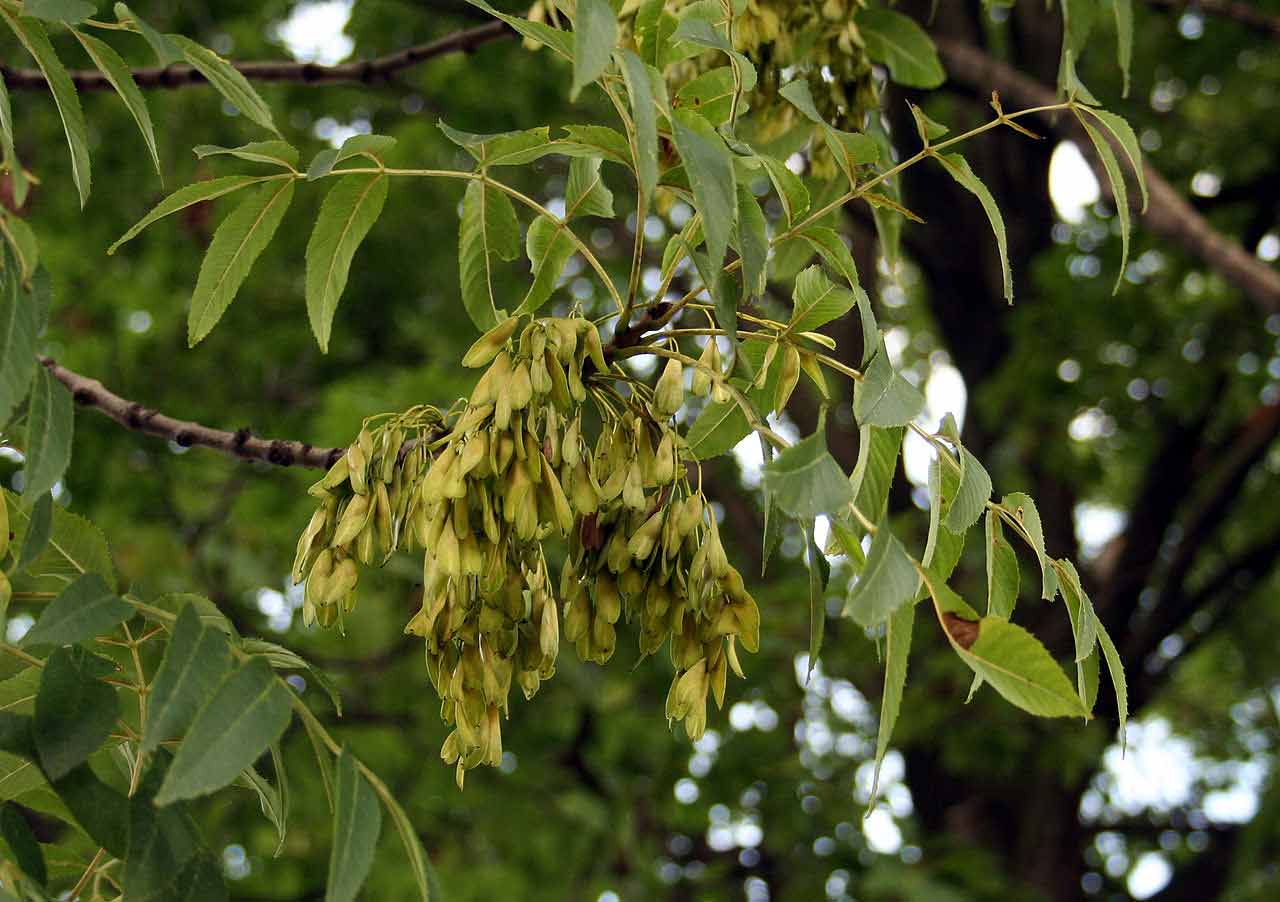
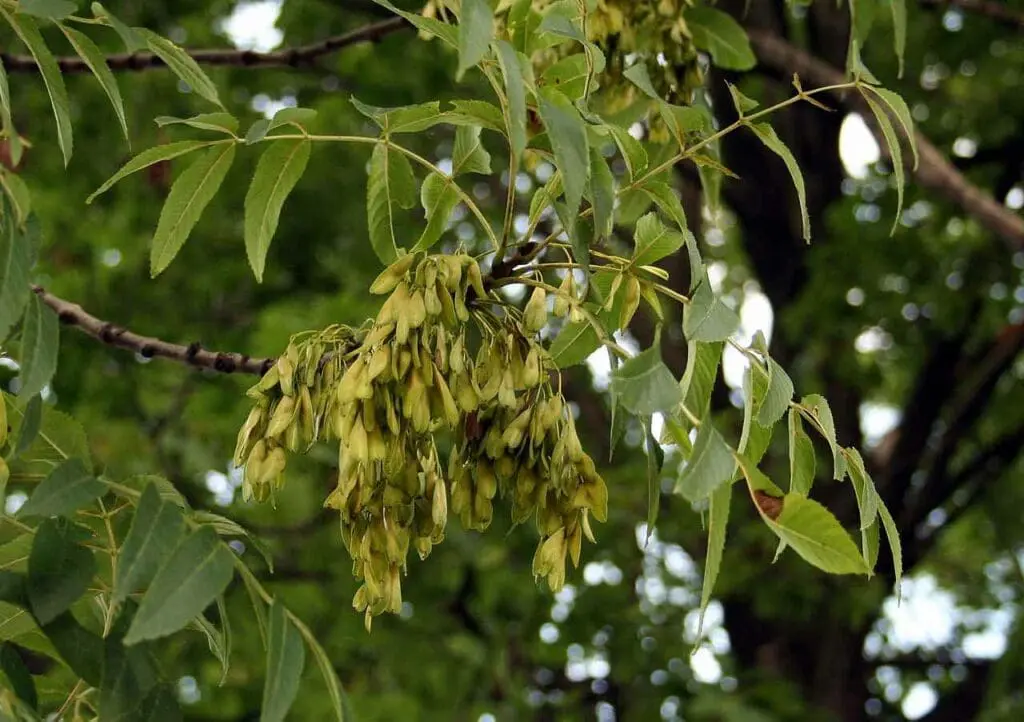
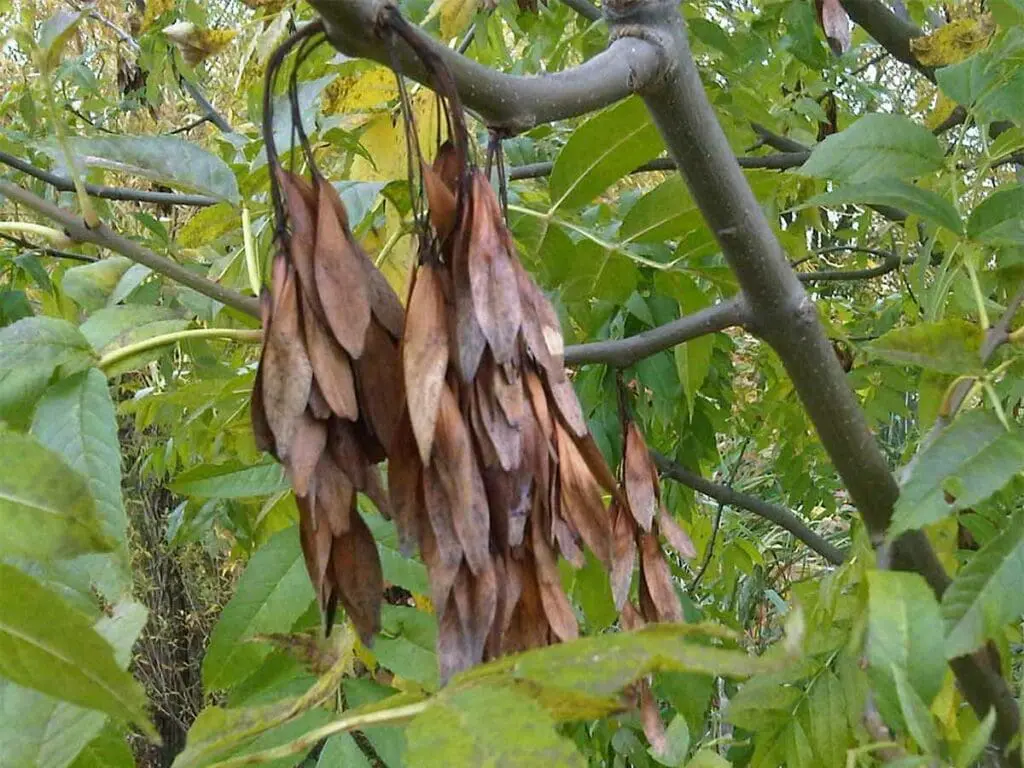
Ash ‘keys’ ripen during September and October, during which time they turn from green to brown as they dry. The most reliable seeds are those that have been picked brown. Green ash keys will grow but can prove unreliable.
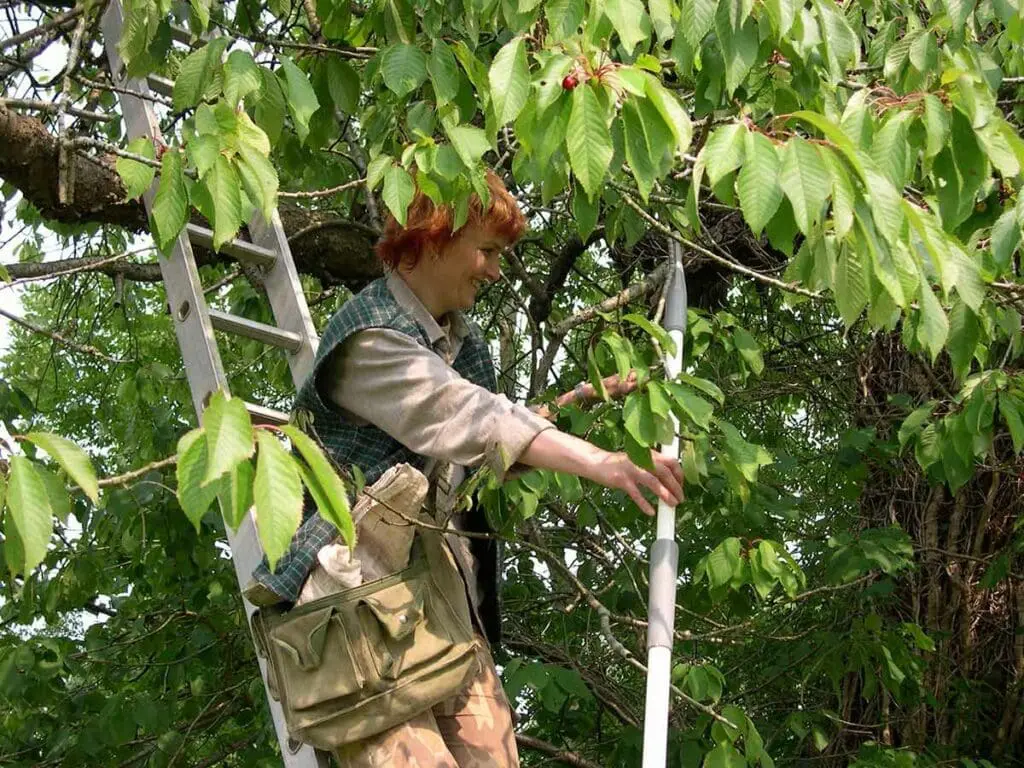
Bunches of keys can be removed from branches in October, or even throughout the winter, before they are dispersed by the wind. Simply pull them gently from the tree with your fingers.
If you have picked green keys (or even those that have begun to turn brown) take care to store them in ‘breathable’ bags. They still have a high moisture content, which can cause the seeds to heat up if they don’t have adequate ventilation.
Extraction and storage
Ash keys should be separated into individual seeds. This ‘de-bunching’ process is done by hand. If you want to store your seeds for any length of time, they should be dried further in a warm place.
The extracted seeds can be stored in plastic bags, sealed and labelled in a cool, dry place (the fridge is ideal – NOT the freezer) or they can be pre-treated immediately.
Pretreatment
Before the start of pretreatment, ash seeds need to be soaked in cold water for 48 hours. The water should be changed after the first day. Drain the seeds and mix them with equal parts horticultural sand or a sand/compost mixture (for these seeds the addition of compost to the mixture is beneficial). Use 50% leafmould or peat-free compost and 50% horticultural sand. For each handful of seeds add two or three handfuls of mixture. Select a pot that has enough room for this seed/sand mixture (and a bit more) and put a layer of stones in the bottom. Cover the stones with sand. Place the seed/sand mixture on top of this and cover this with 2-3cm sand. Label the pot and stand in a shady spot outdoors.
The pot needs to remain outside for eighteen months. This is where patience is required! Water the pots if they show signs of drying out and protect from birds and mice if they discover your seeds. We will be sowing the seeds the second spring following collection. Freshly collected ash seed does not contain a fully- developed embryo (young plant). It needs a full summer (warm temperatures) for the embryo to grow to its full size and be ready to germinate.
Sowing
After the seeds have spent a whole summer and the following winter outside, they are ready to be sown (eg. collect October 2023 and sow spring 2025).
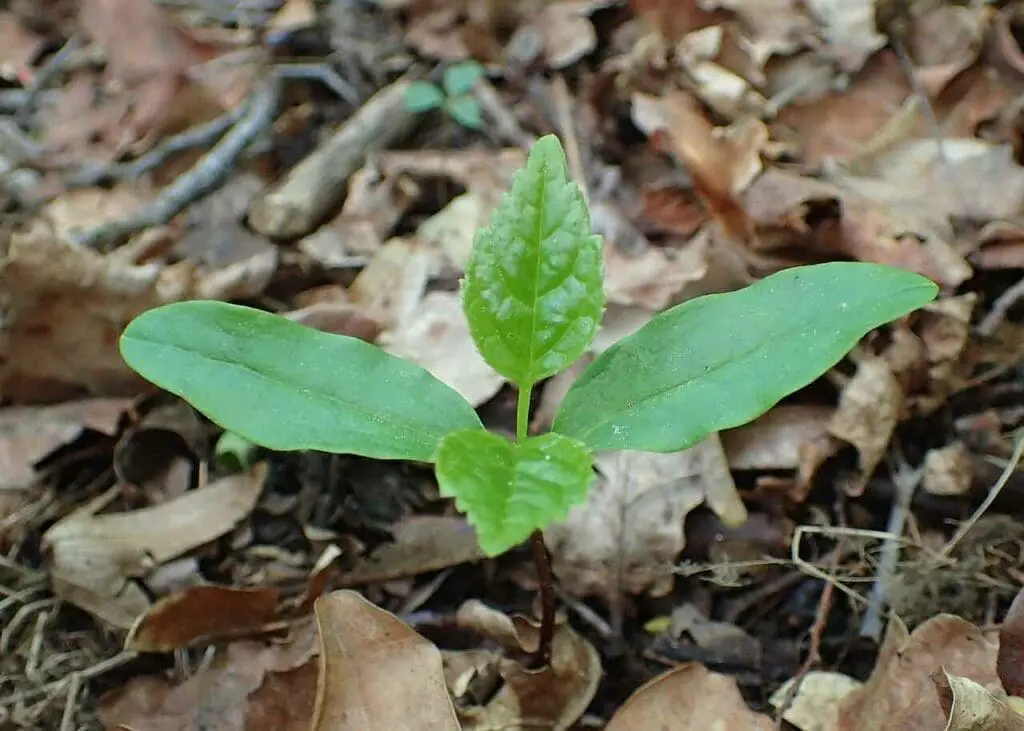
Sow three seeds per pot or aim for about 400 seeds in one square metre of a seedbed. Cover the seed with 5-10mm of coarse horticultural grit. Firm the seeds.
Watering
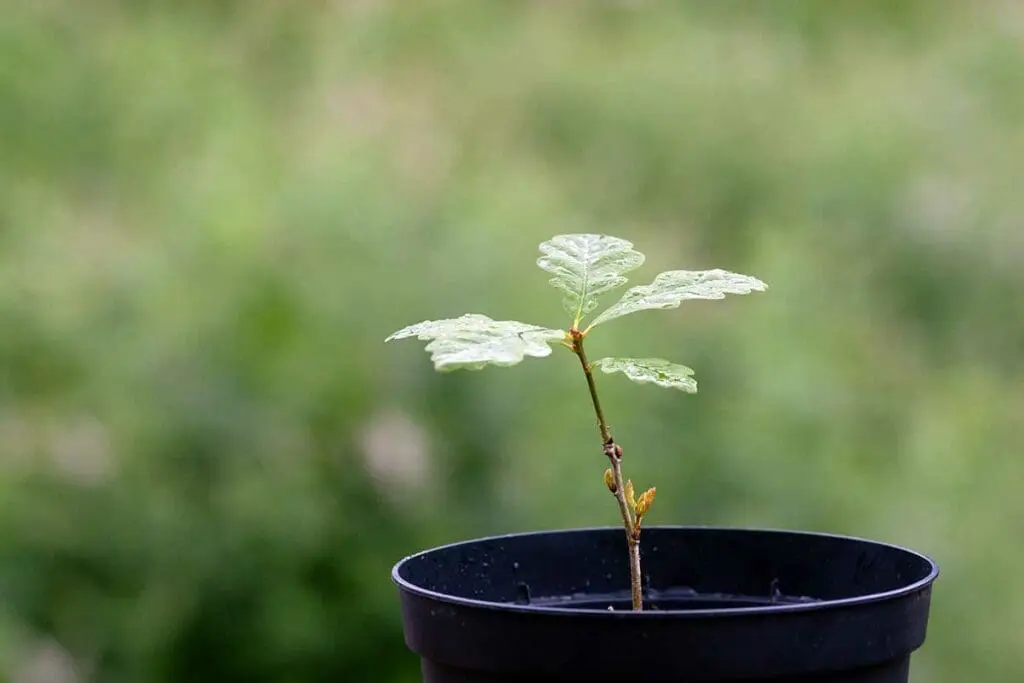
Ash will grow quickly when supplied adequately with water. Ensure the young seedlings are kept moist. Reduce watering a little towards late summer.
Growing
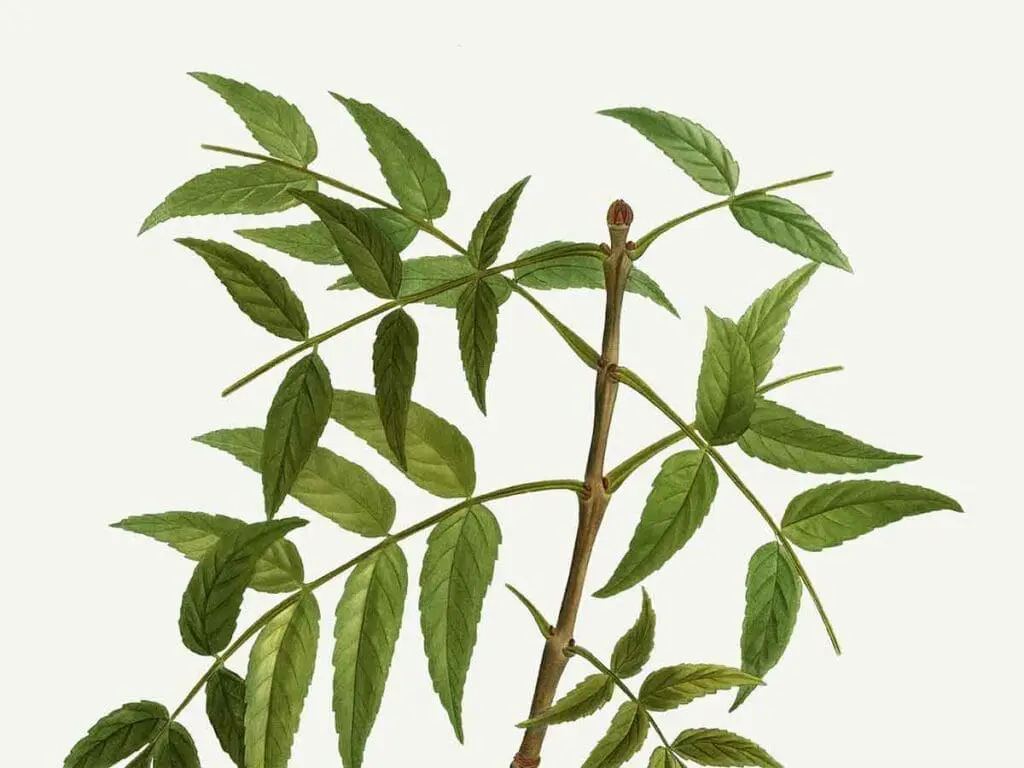
Ash seedlings grow rapidly when well-fed. It is important, especially for those trees growing in pots, that they are fed regularly throughout the growing season. Ash does not like acid soils, so they will also benefit from a top dressing of garden lime.
If your plants don’t reach 40cm in height in the first year, transplant them with more space. You can help them to develop a good, fibrous root system (important for final planting) by root-pruning.
Planting
When your ash is tall enough, it can be planted into its new home. Prepare the site well by clearing away any weeds or grass and make a hole big enough to accommodate the root ball. Plant carefully in the hole, to the same depth as it was in the pot, and firm back the soil.

